
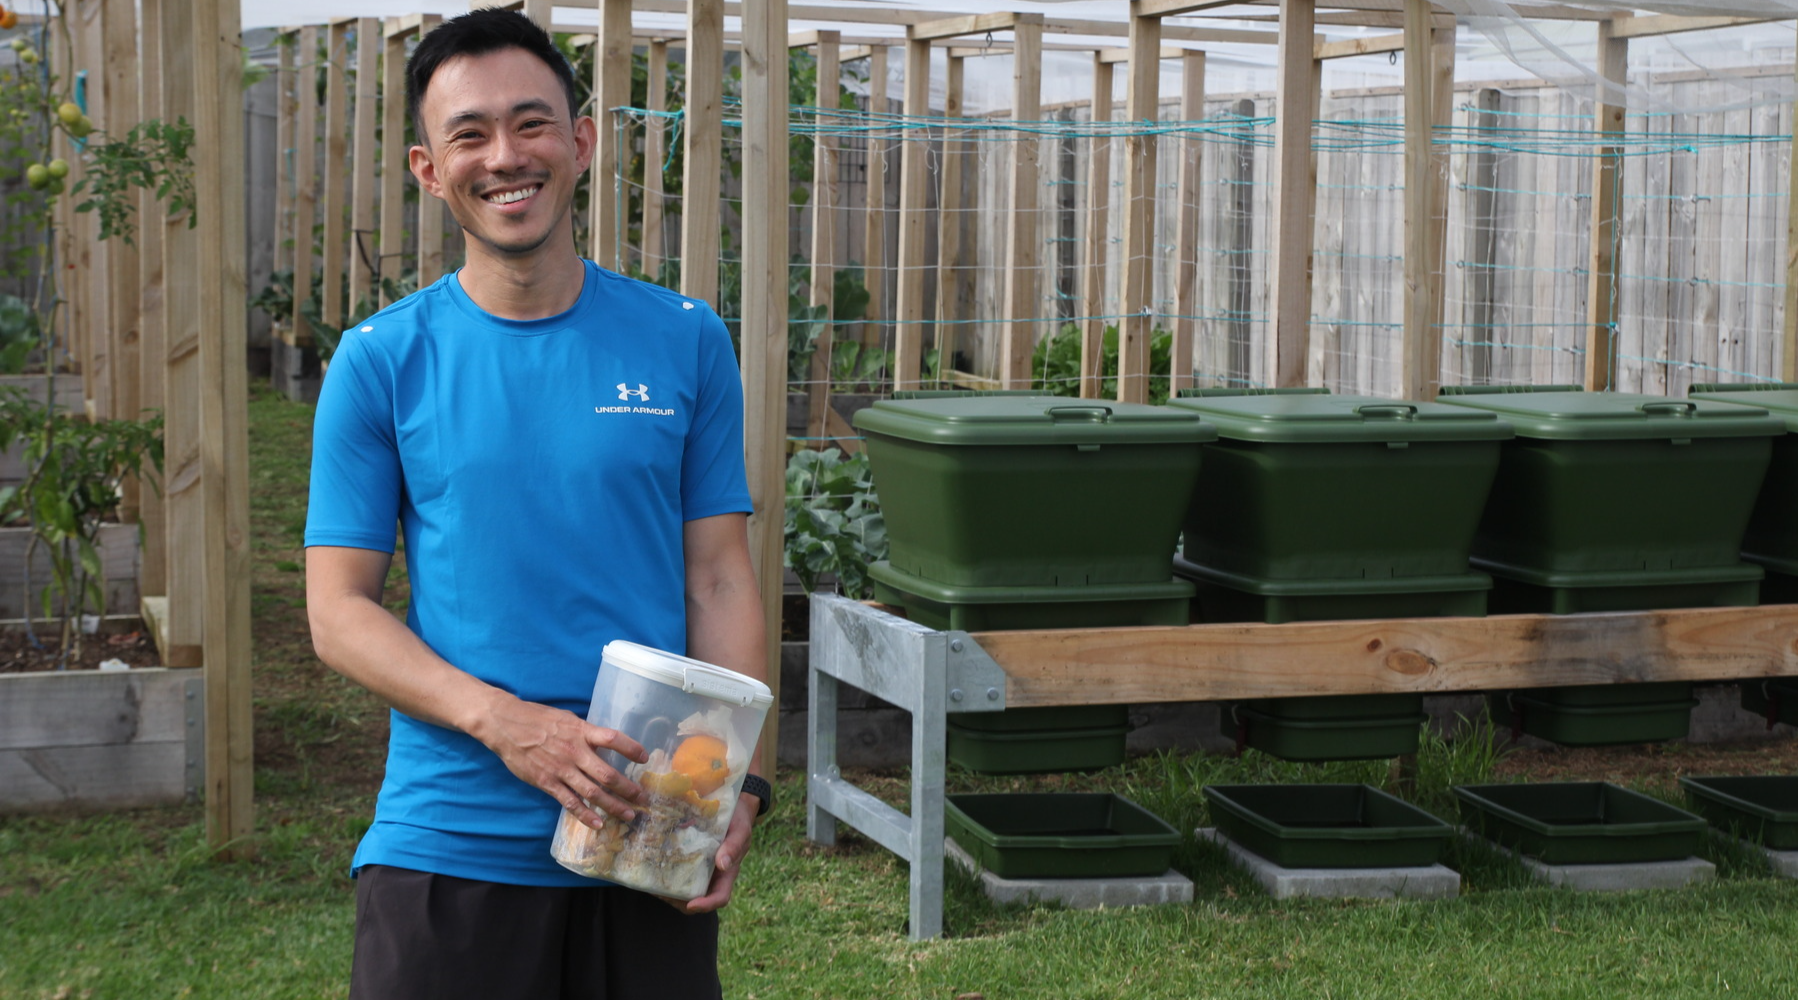
Hungry Bin
The Hungry Bin is a fast and convenient way to compost your food scraps. The innovative design is highly efficient and can process up to 2.0 kgs (4.4 lbs) of waste per day.
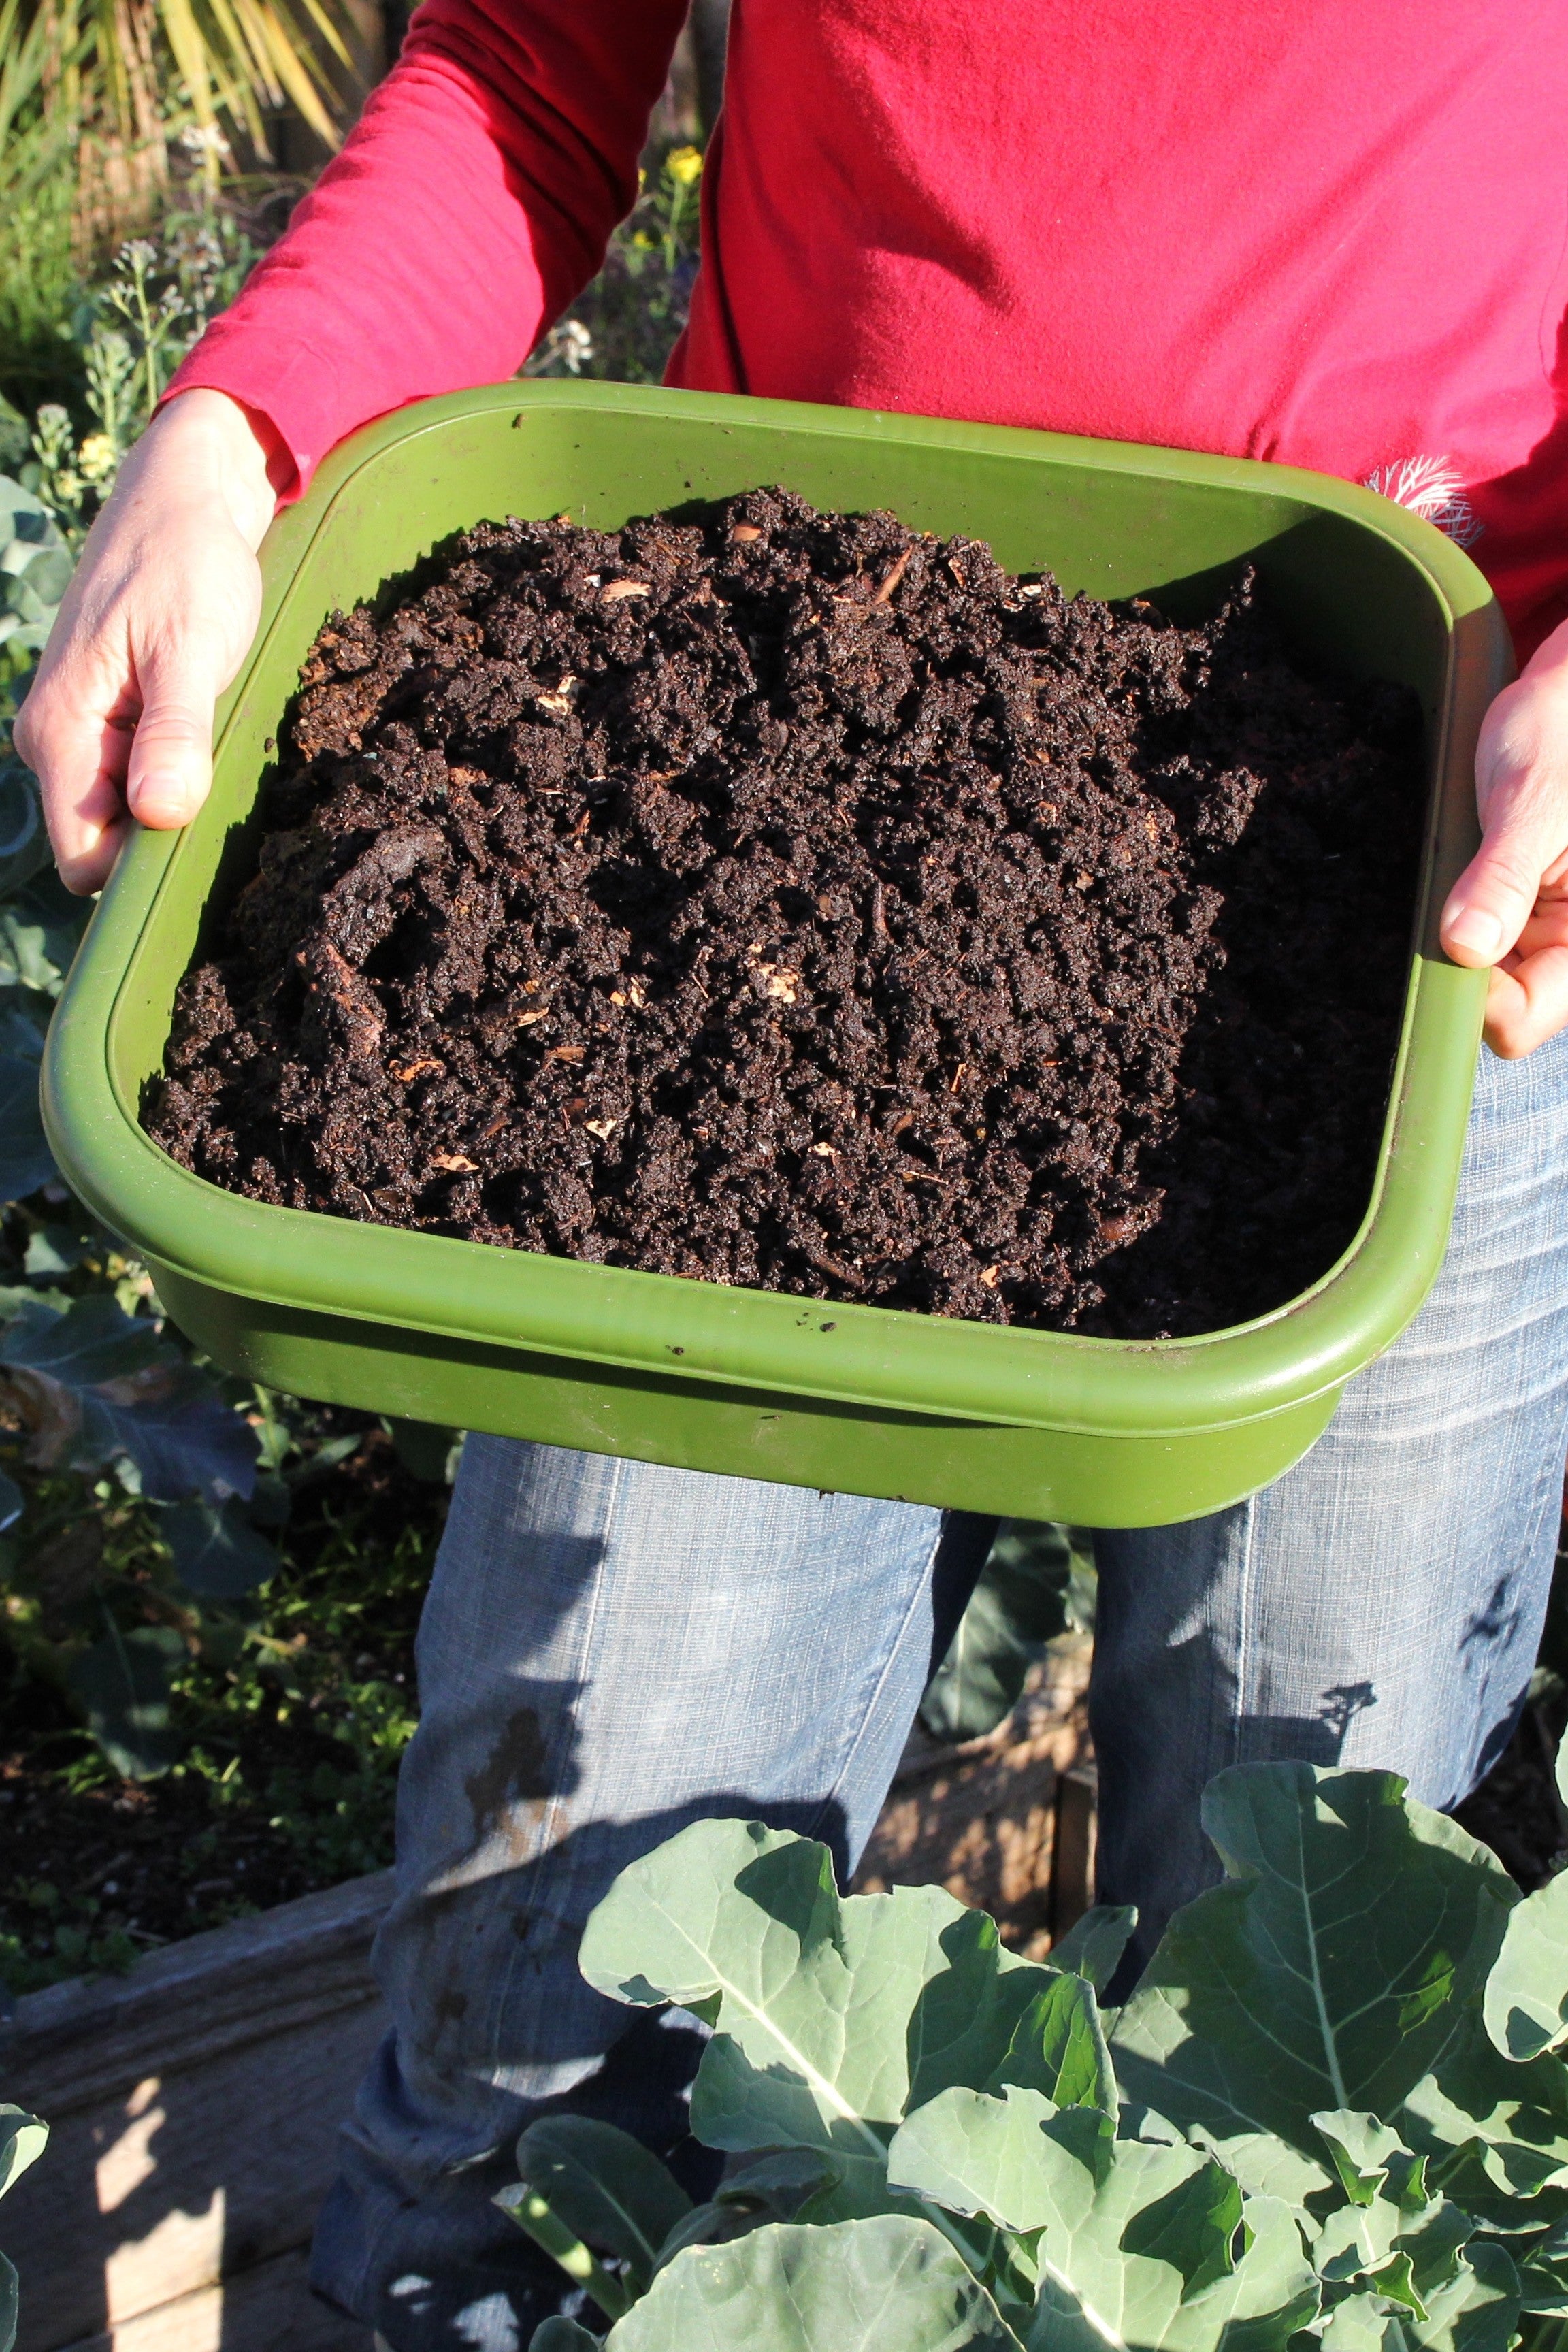
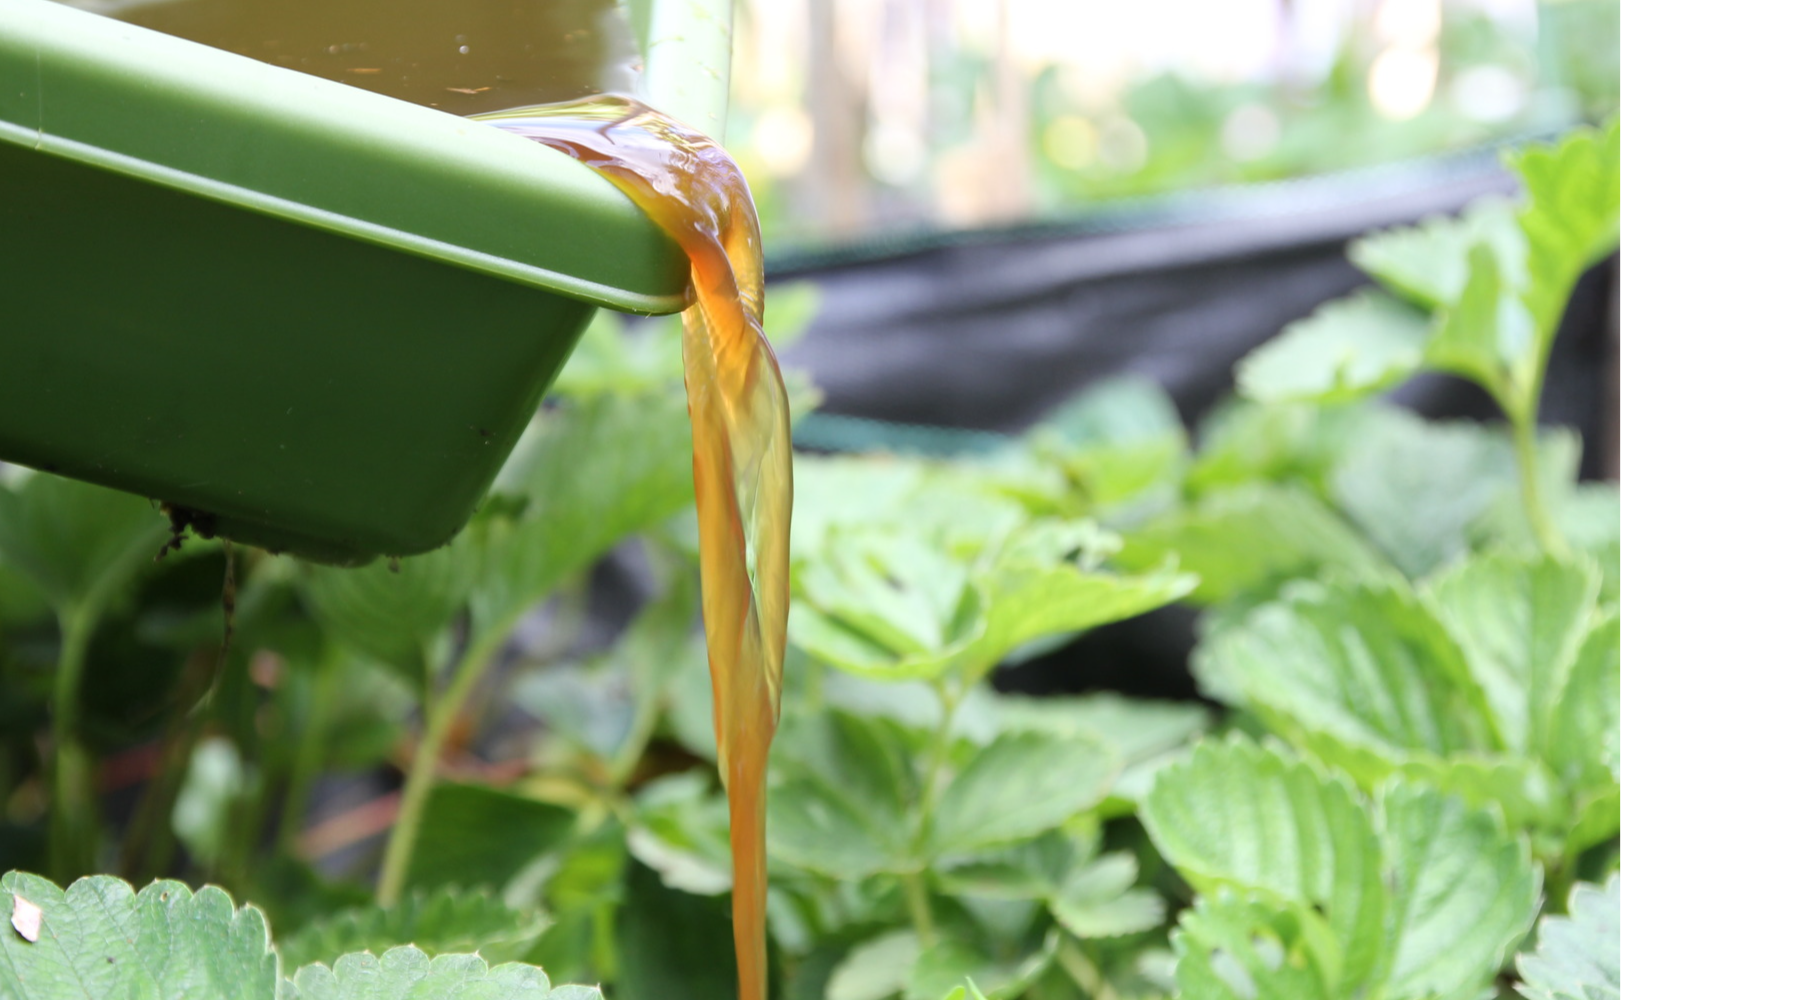
The Hungry Bin creates an ideal living environment for compost worms. The worms quickly convert organic waste into castings and a nutrient-rich liquid, which are both high-quality natural fertilizers.
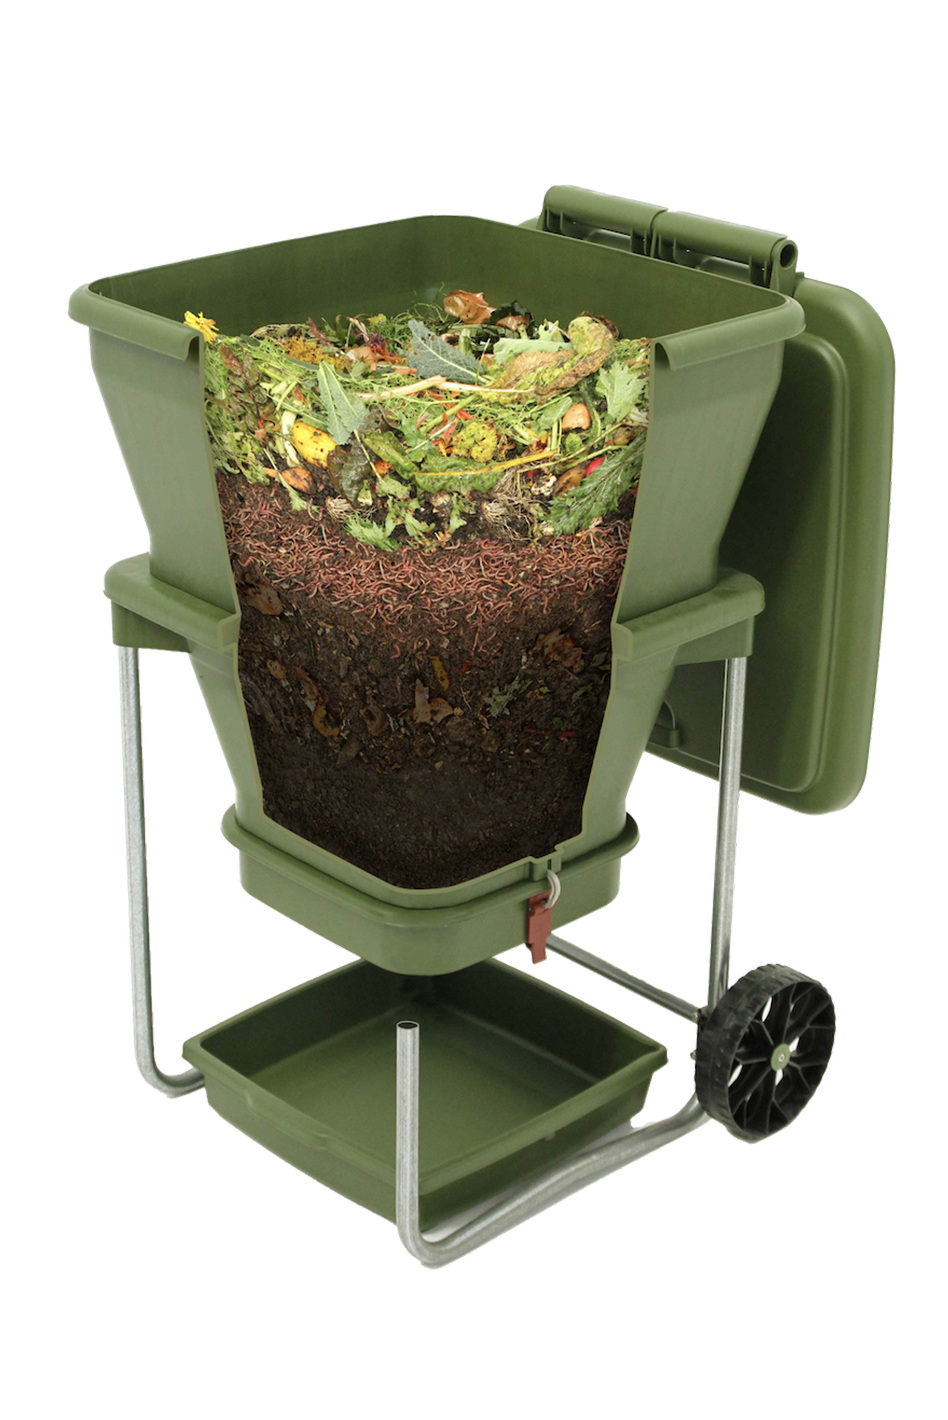
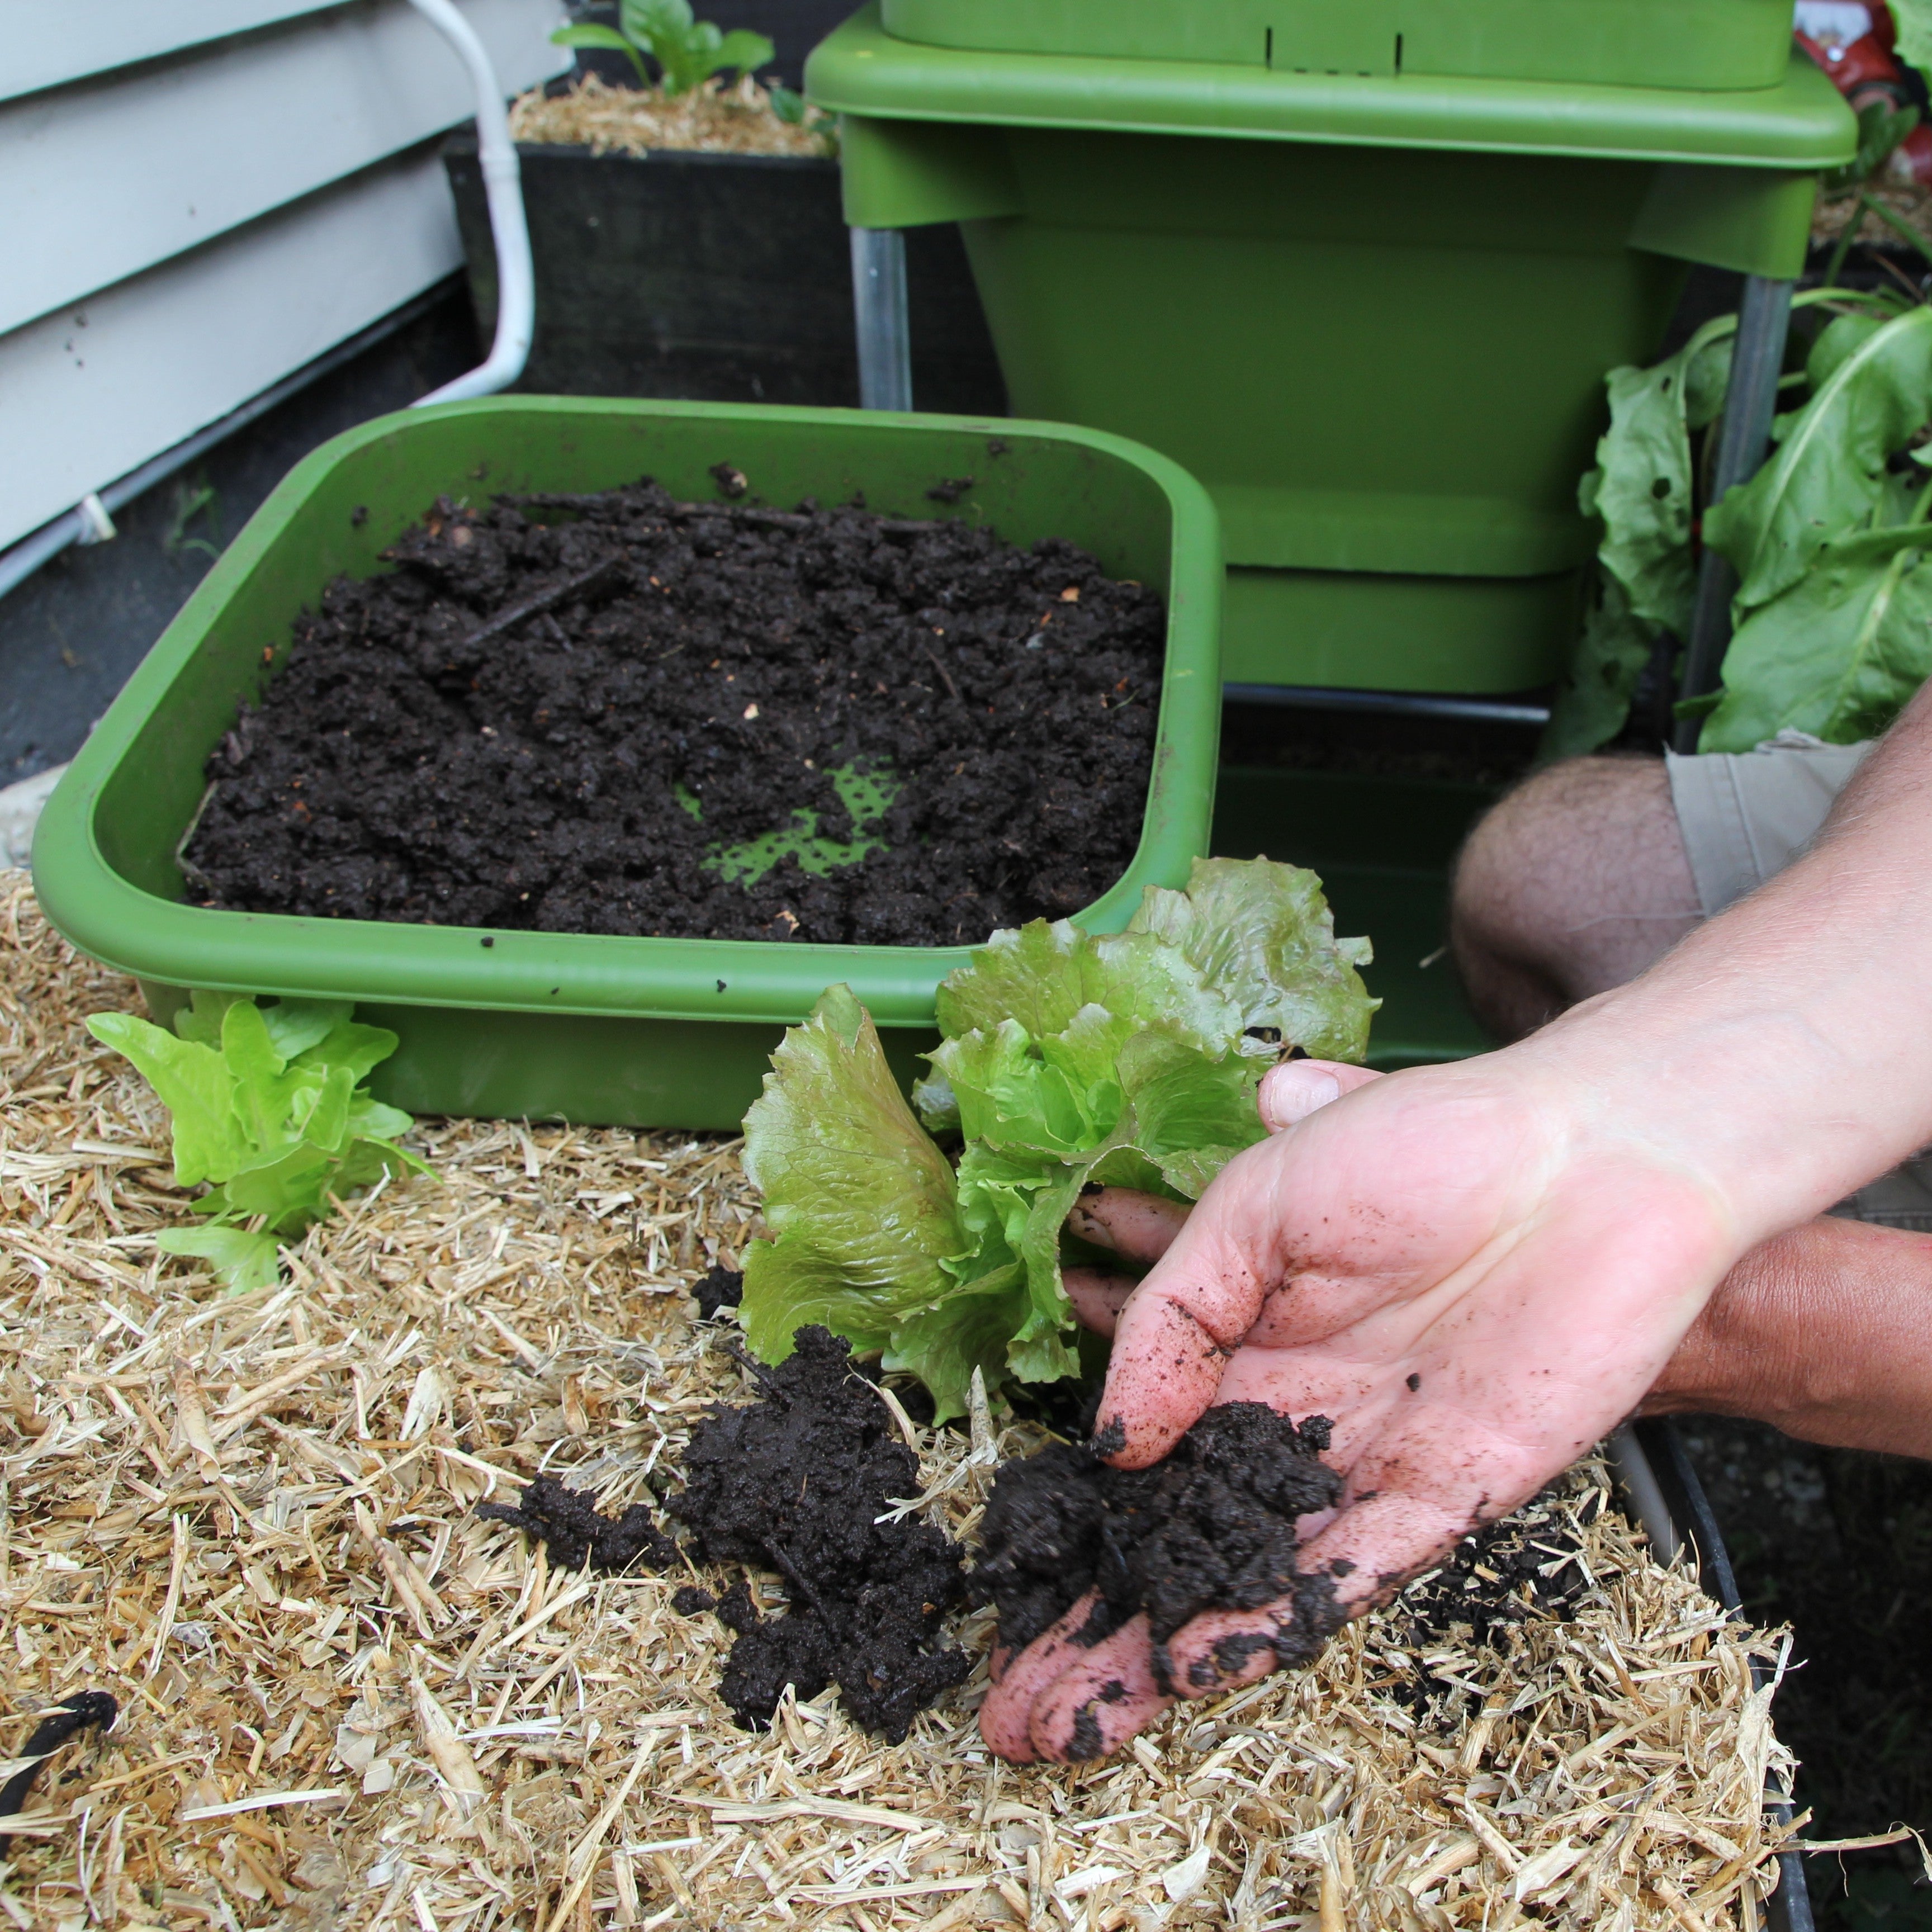
The patented tapered shape of the body compresses the castings, encouraging the worms to move to the surface layer to access fresh food. It is a simple process to collect both the castings and liquid produced by the Hungry Bin.
Worms and bedding are required for the Hungry Bin. You can purchase worms from Greentools below. Bedding can be purchased at your local garden supply store.
With thousands of Hungry Bin sales and happy customers, we GUARANTEE that you will love your Hungry Bin in 90-days or your money back.
Compost worms and bedding (soil) are required to use your Hungry Bin. We recommend using Red Wiggler Compost Worms. Soil bedding can be purchased at your local garden supply store.
Transform Your Composting Experience
Save Money
No more buying fertilizer. The Hungry Bin provides worm castings every 2-4 months and up to a litre of worm tea every week. Brew your own compost tea from your castings too! Get self-sufficient gardening today.
Recycle Organic Waste
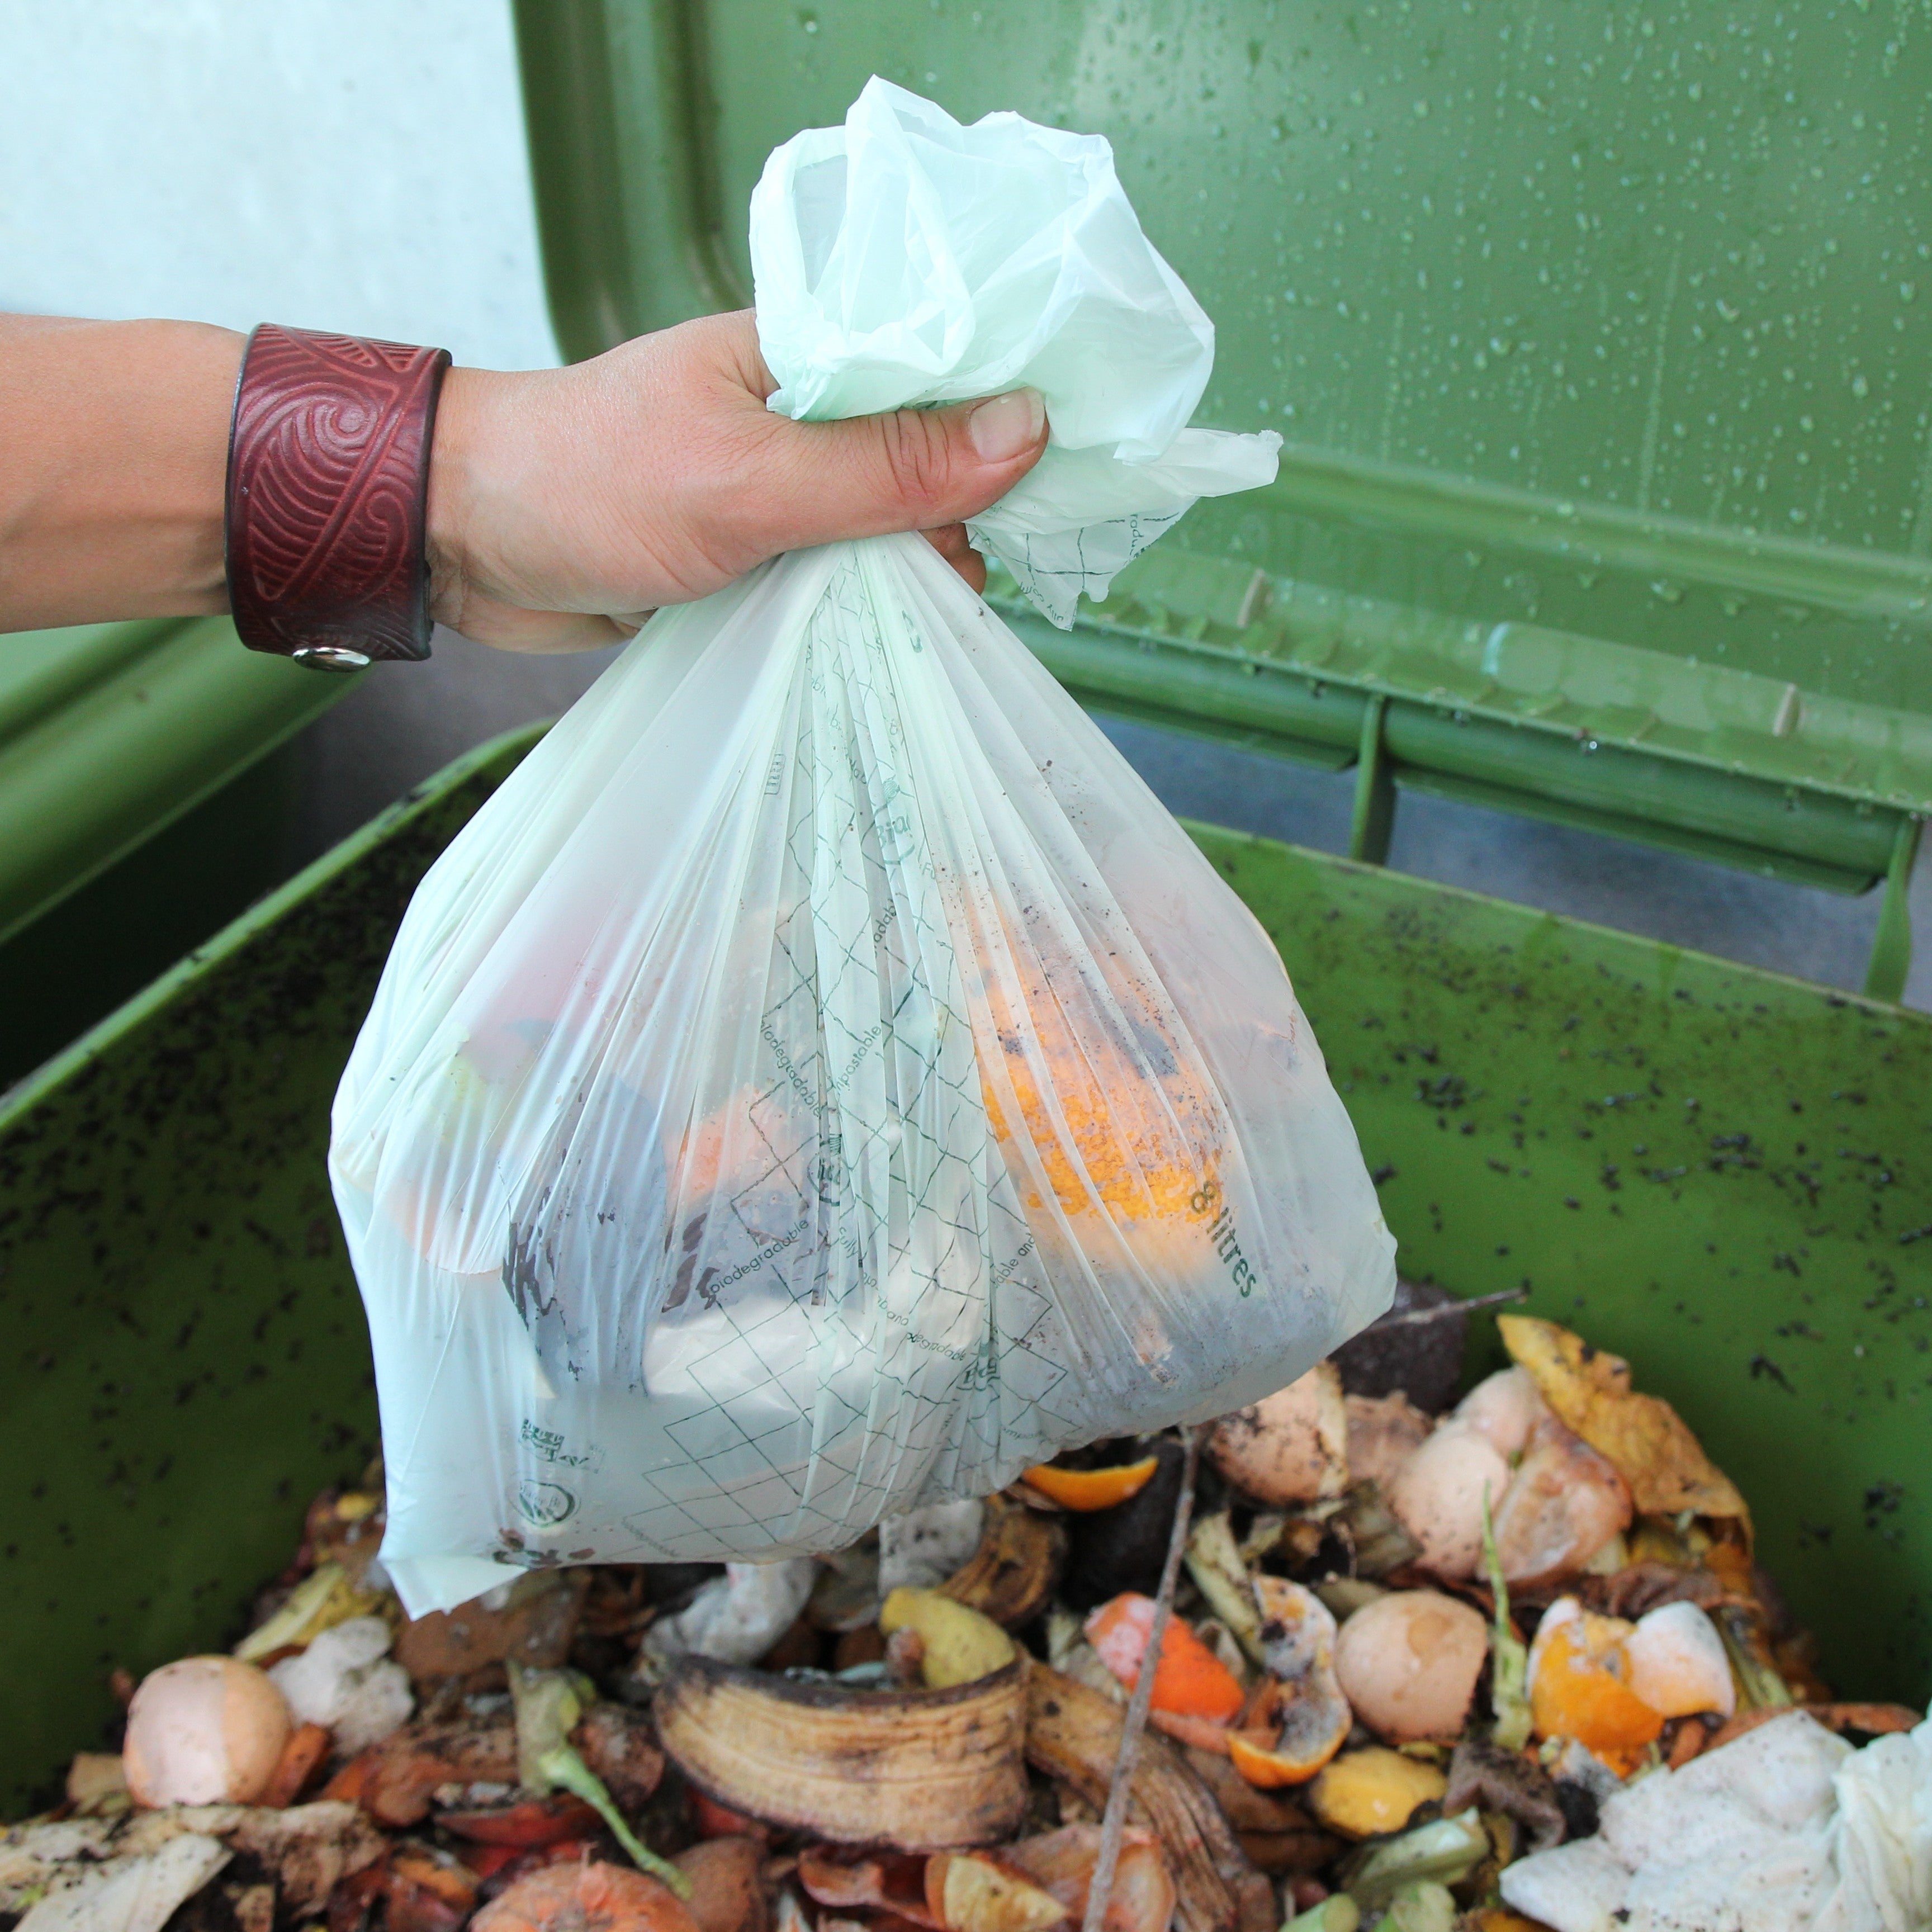
Food scraps is the largest source of waste in your household. The Hungry Bin can process up to 4 lbs (2.2 kgs) of organic waste per day. Feel good about reducing your impact on the planet.
Space-Efficient
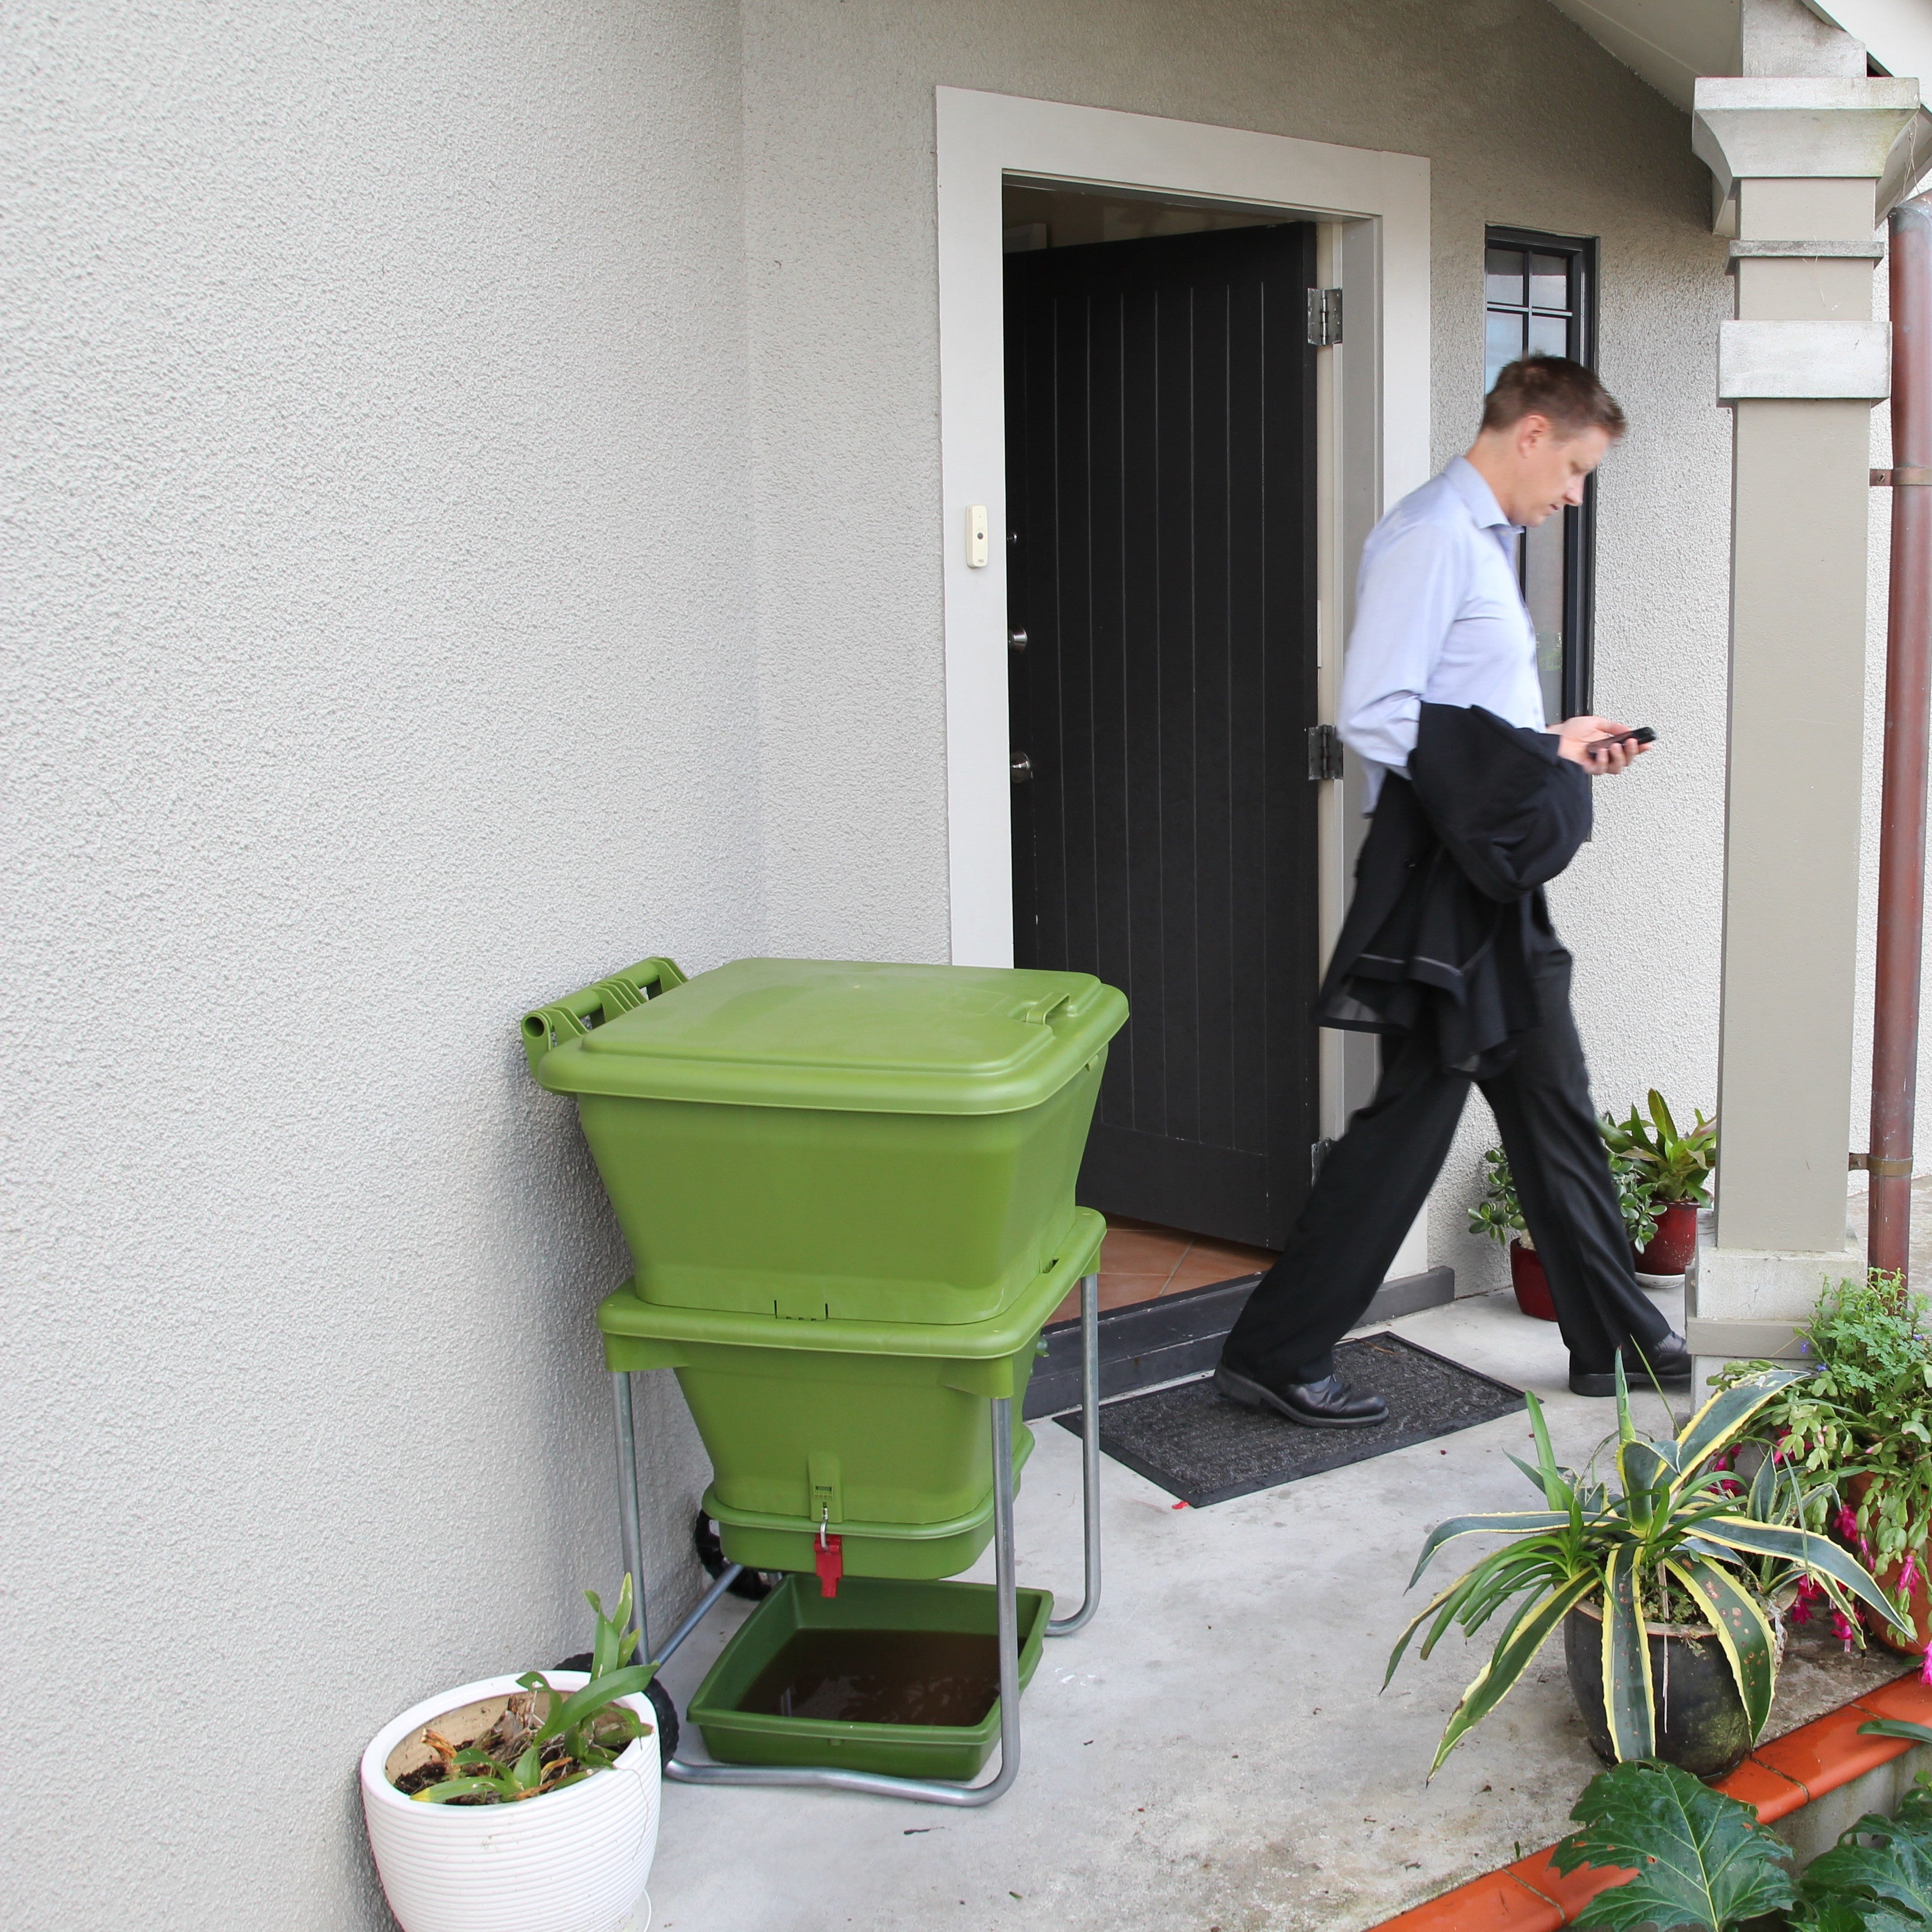
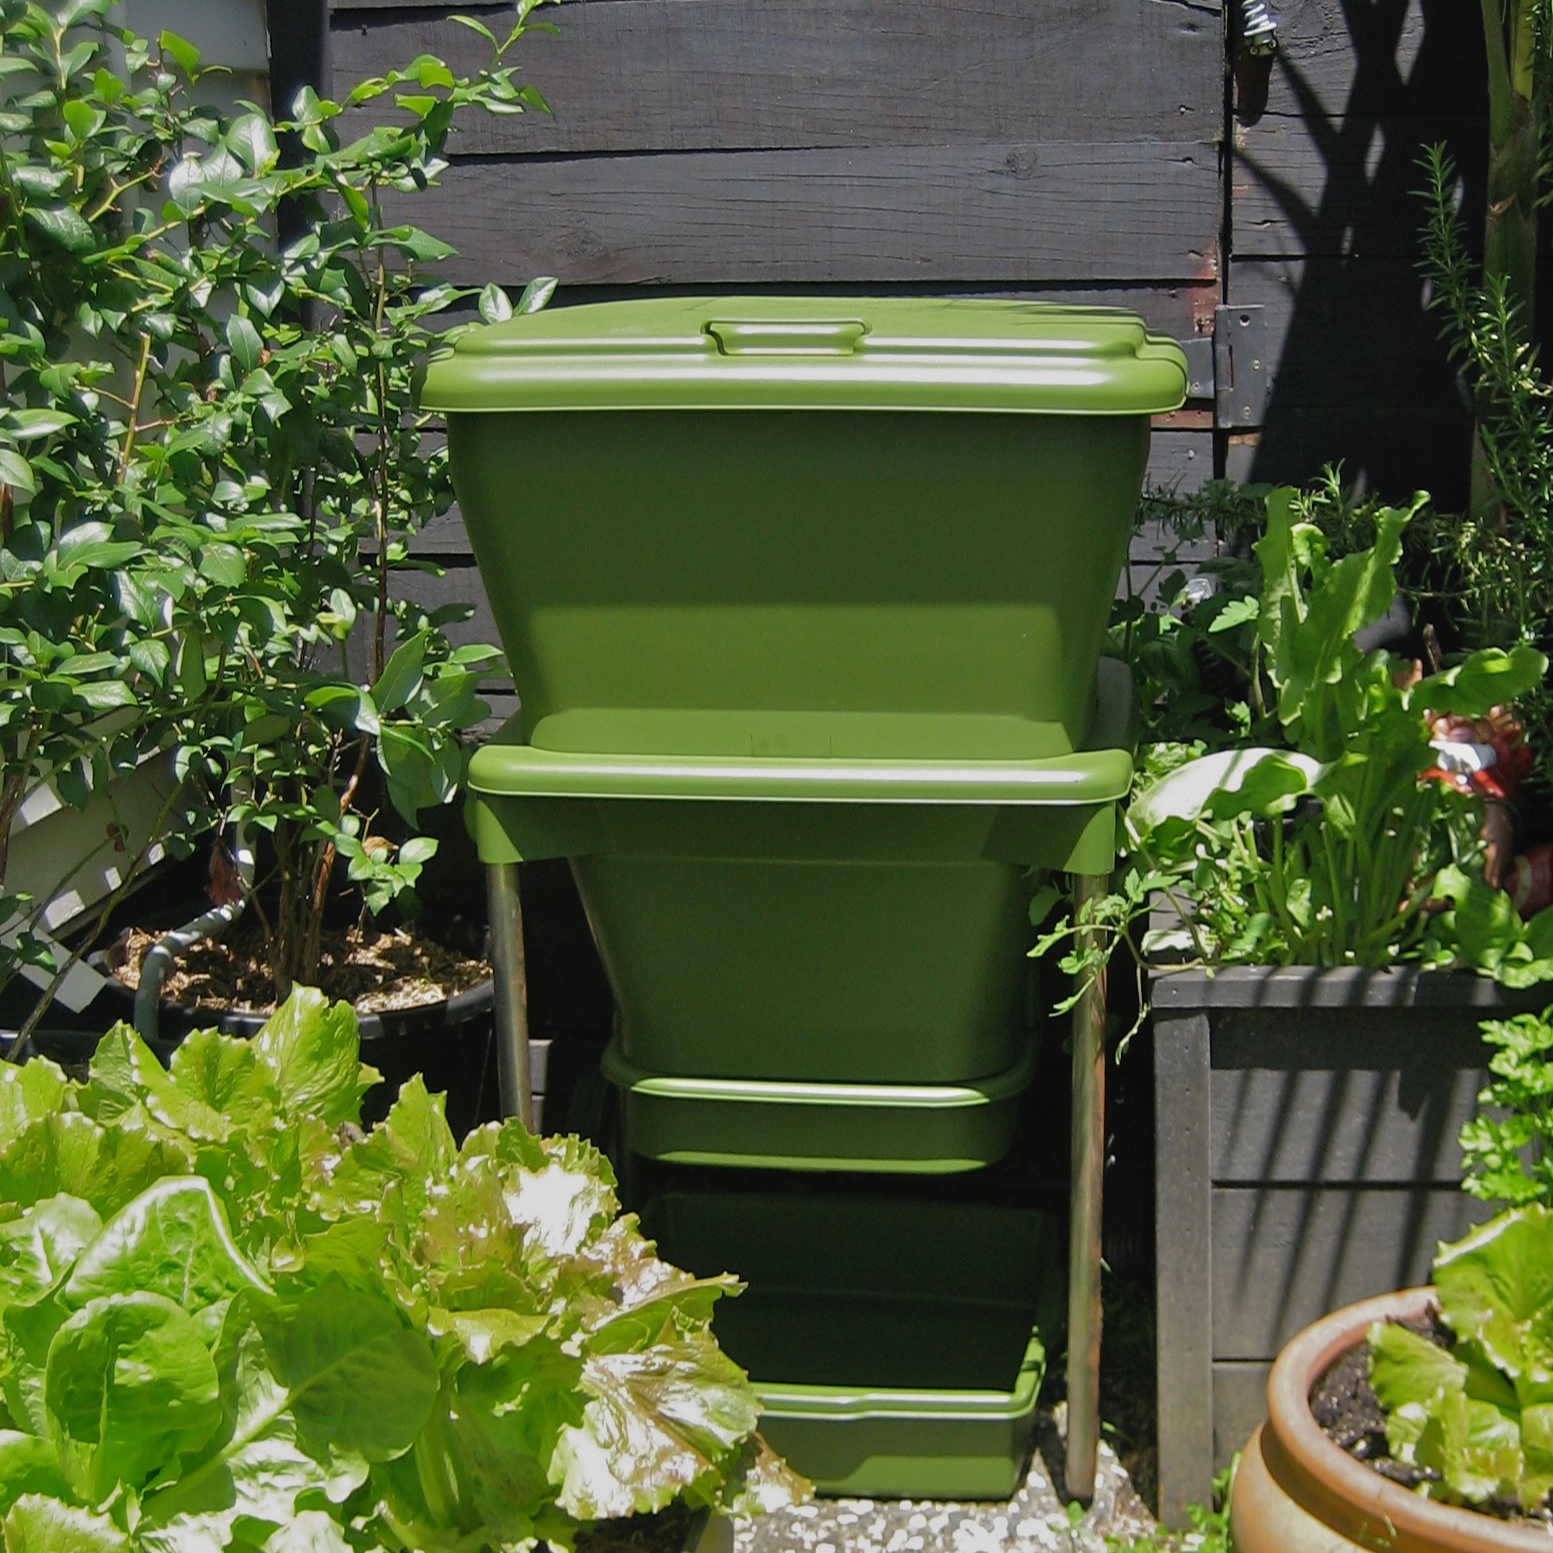
No power required. Built to last with Zinc-plated legs and large diameter wheels. The Hungry Bin is portable so you can move it anywhere. It's perfect for a shady spot along the side of the house, garage, or in the garden.
Get Started in 10 Minutes
With only 3 steps you will be composting in no time.
Find a shady spot
- Choose a sheltered, full all-day shade spot for the Hungry Bin
- The ideal temperature is between 60-85°F (15-25°C). Avoid temperature extremes, prolonged conditions over 90-95°F (32°C) may kill the worms.
- The bin can be kept on a balcony, garage or in a basement if you don’t have a yard.
- If the bin is outdoors in winter, make sure it is not subjected to freezing conditions for extended periods of time.

Fill your bin
- Place bedding material into the Hungry Bin (Fully composted soil or Coconut Coir).
- Add at least 80 Litres (98 US dry quarts) of bedding into the bin (3/4 Full).
- Bedding material is roughly the equivalent of two medium bags of compost soil mix.
- Moisten bedding until it is as wet as a wrung-out sponge.

Add your worms
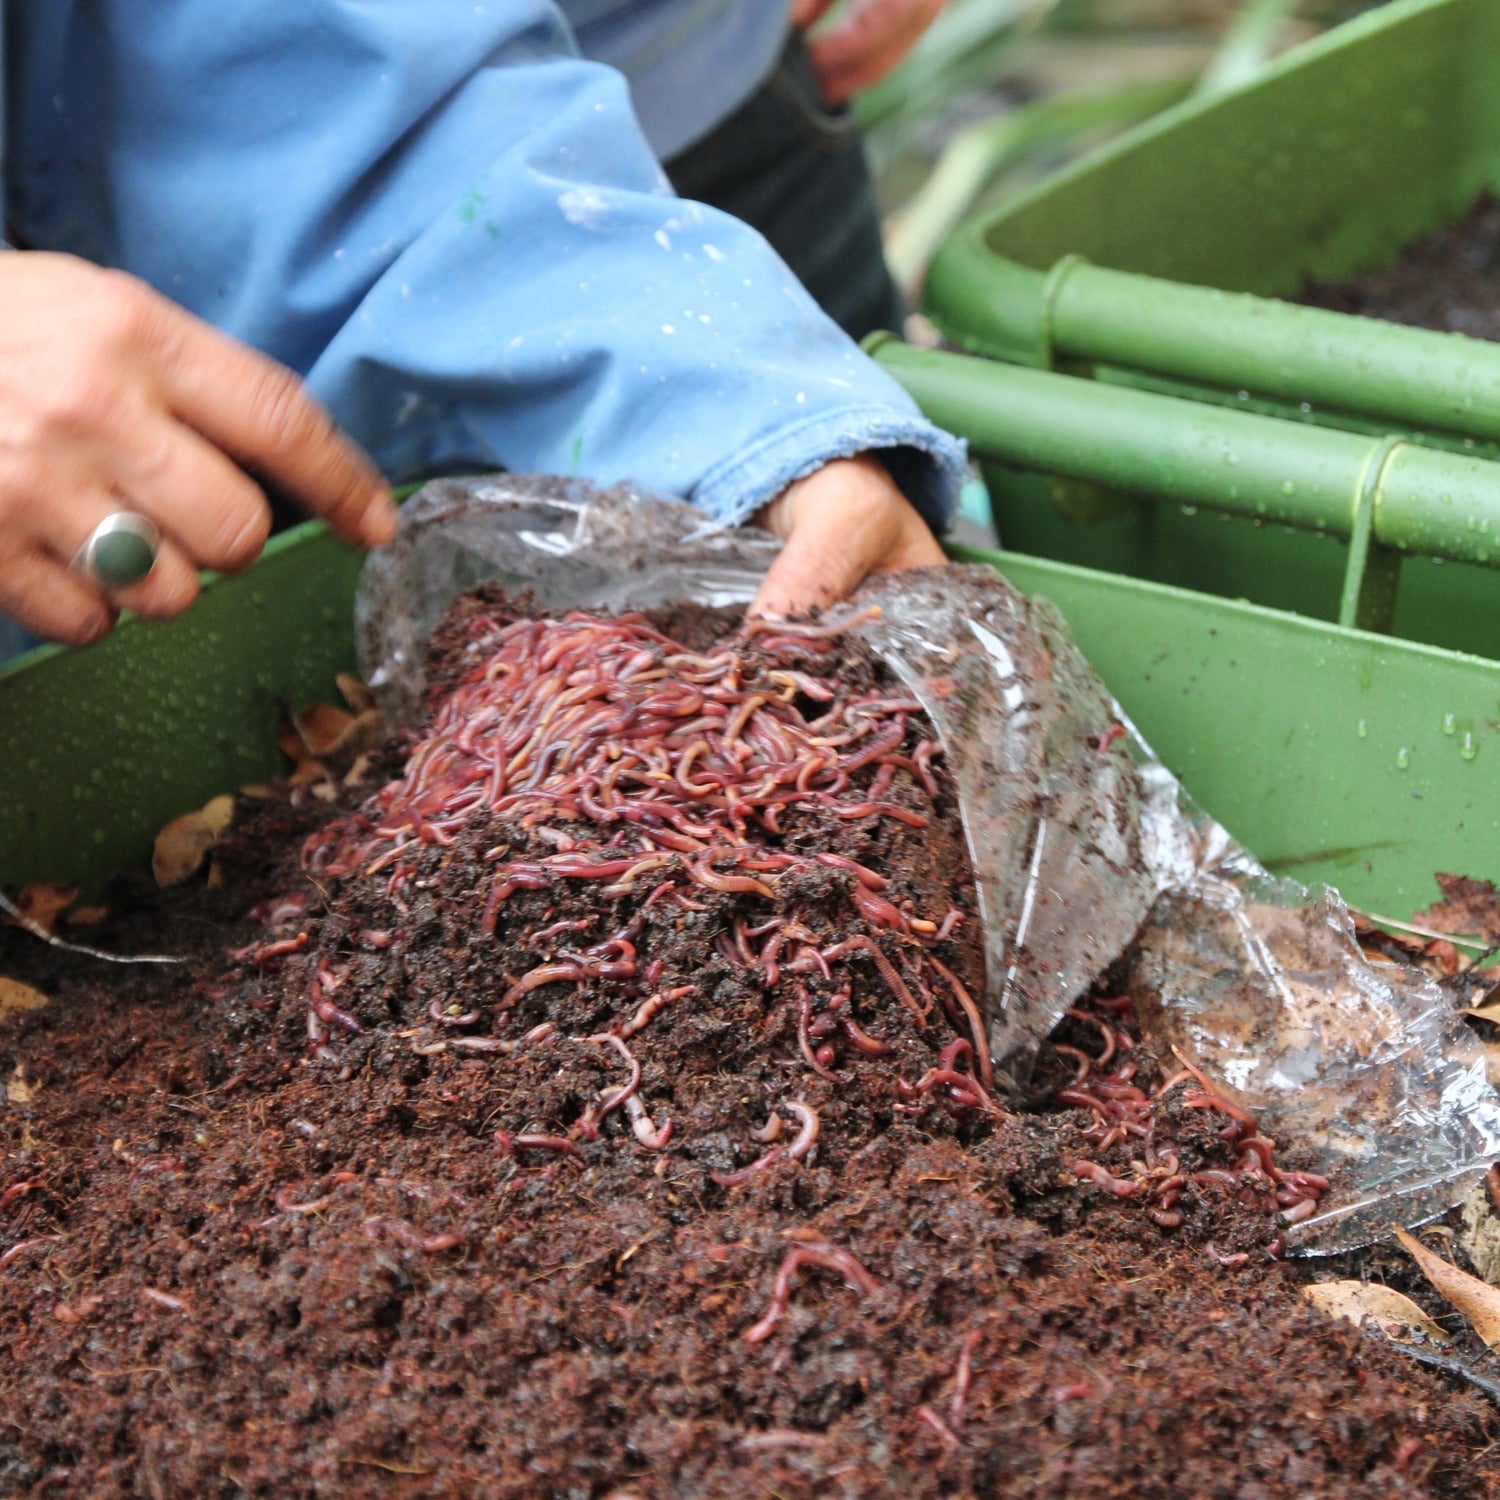
- Start with a minimum of 1 lb. (1000 worms) to start your bin.
- The more worms you start with the faster the bin will reach maximum efficiency, consider 2 lb. (2000 worms) to start your bin.
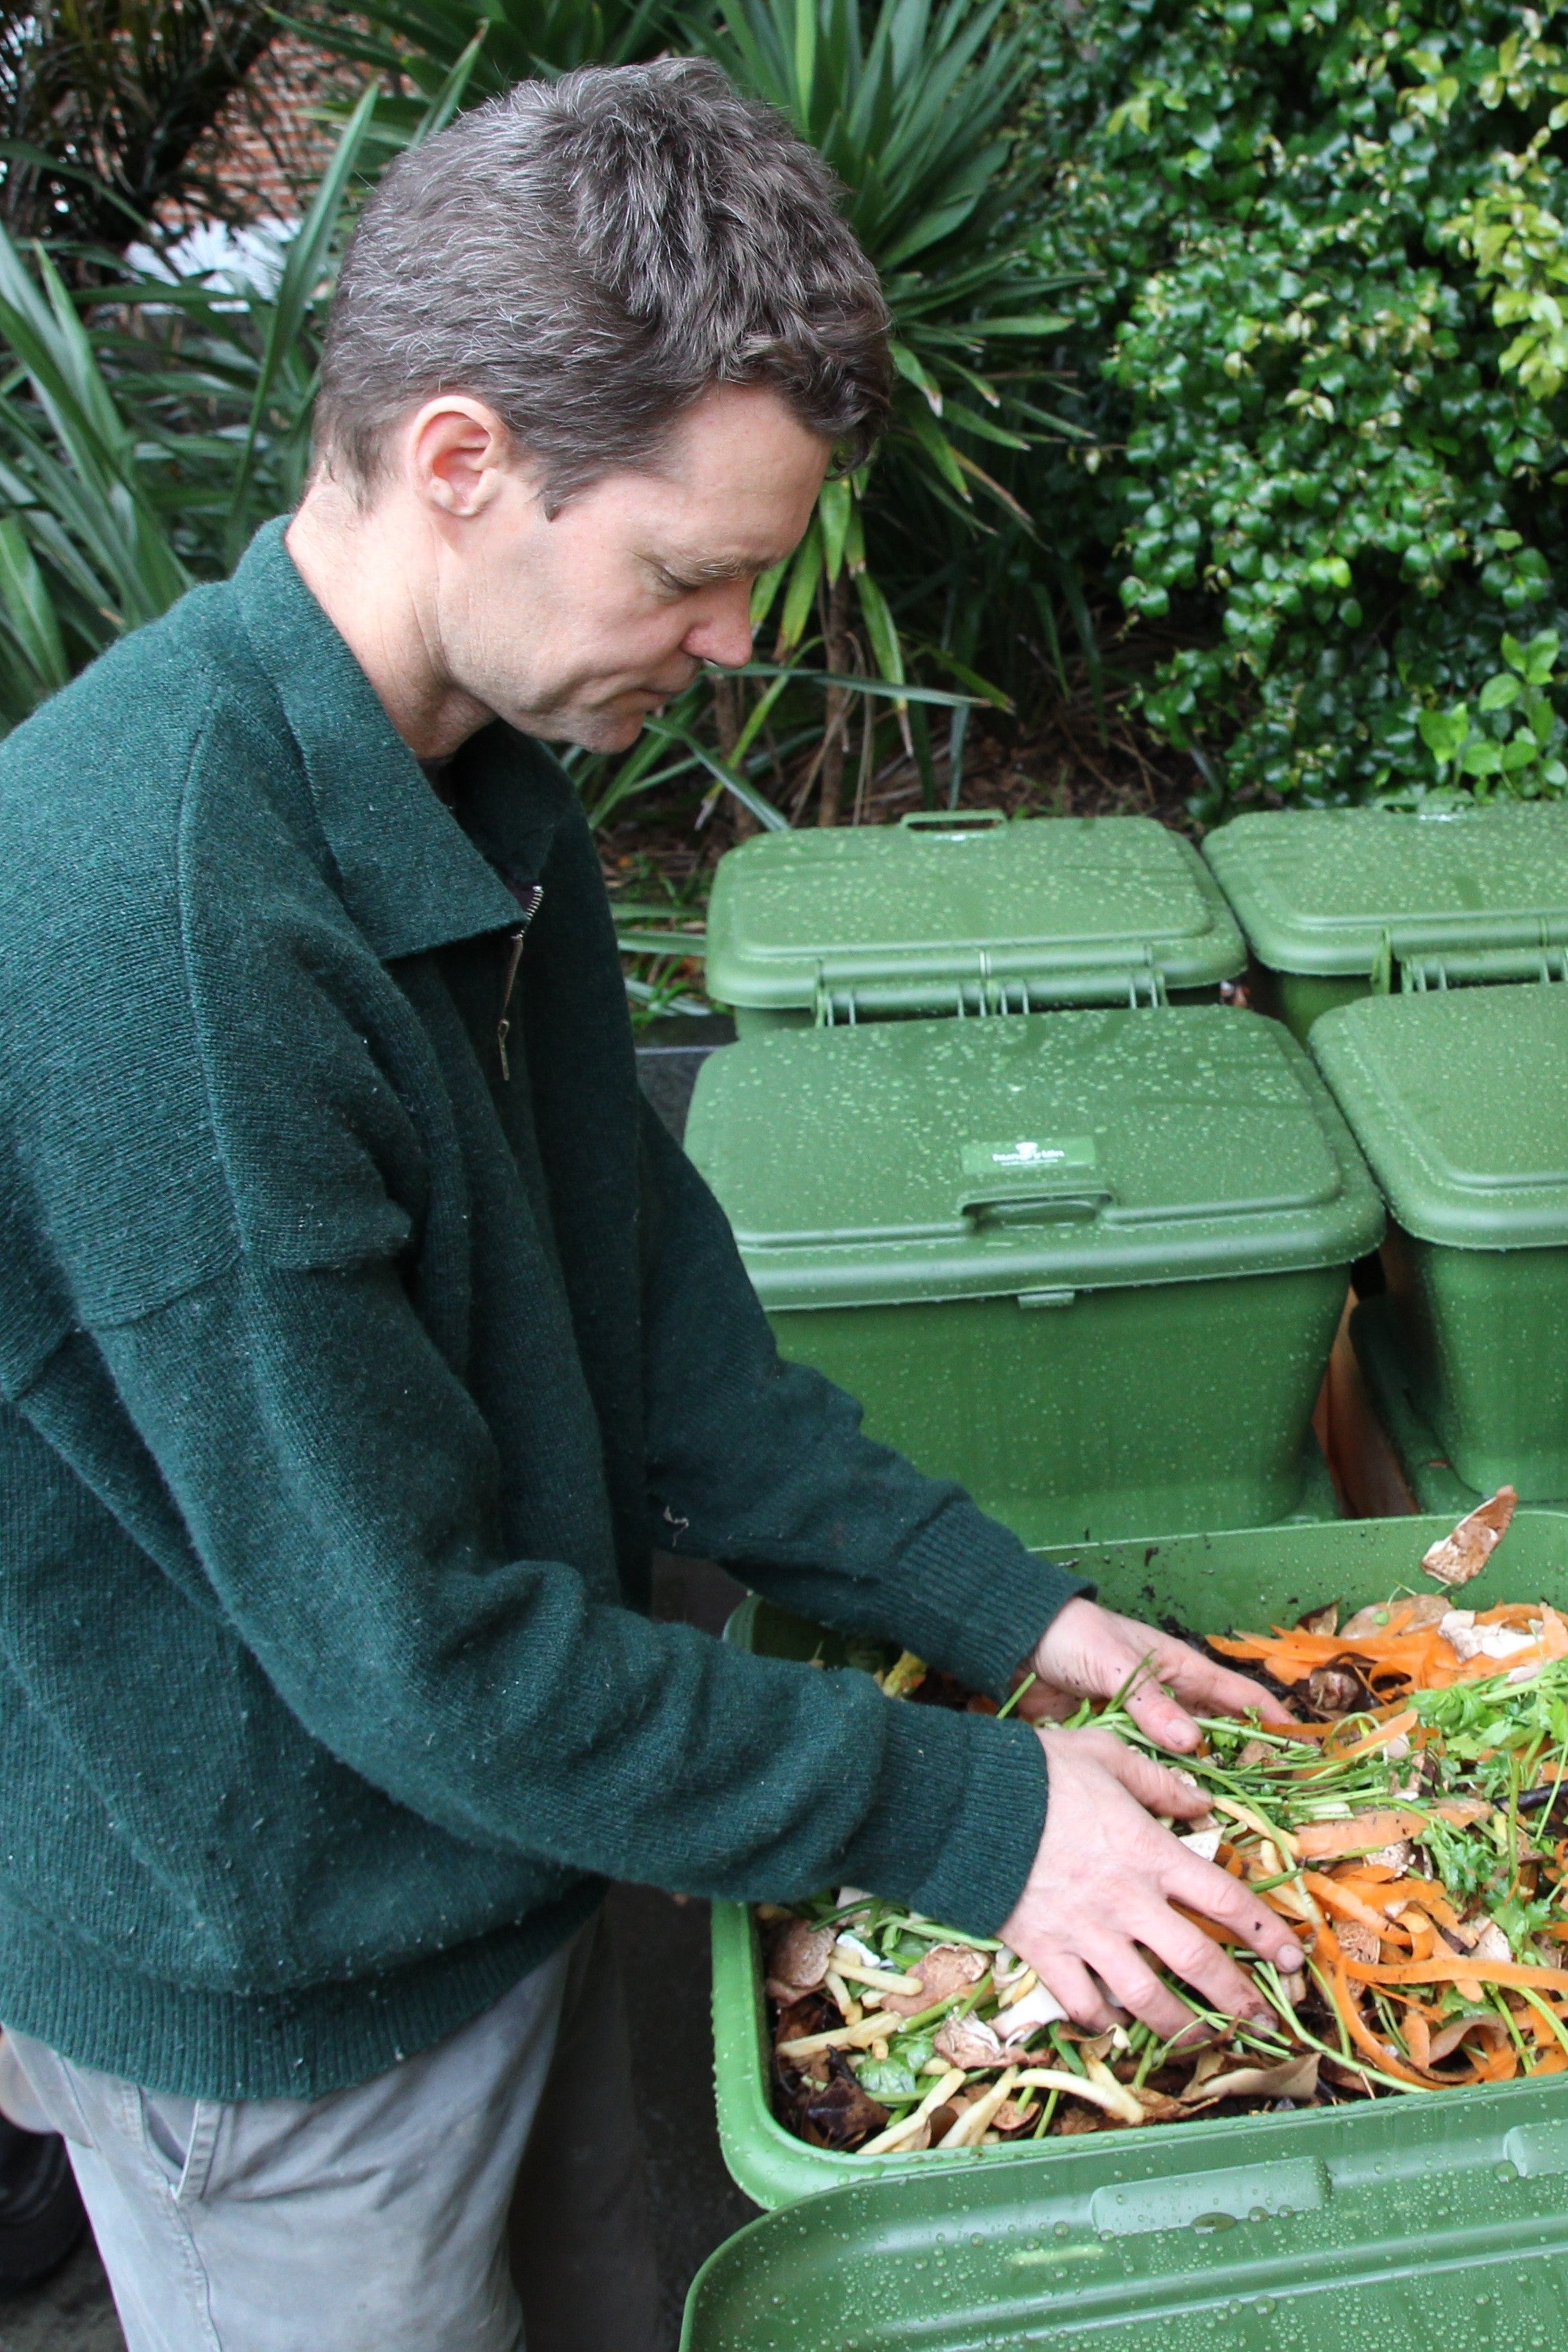
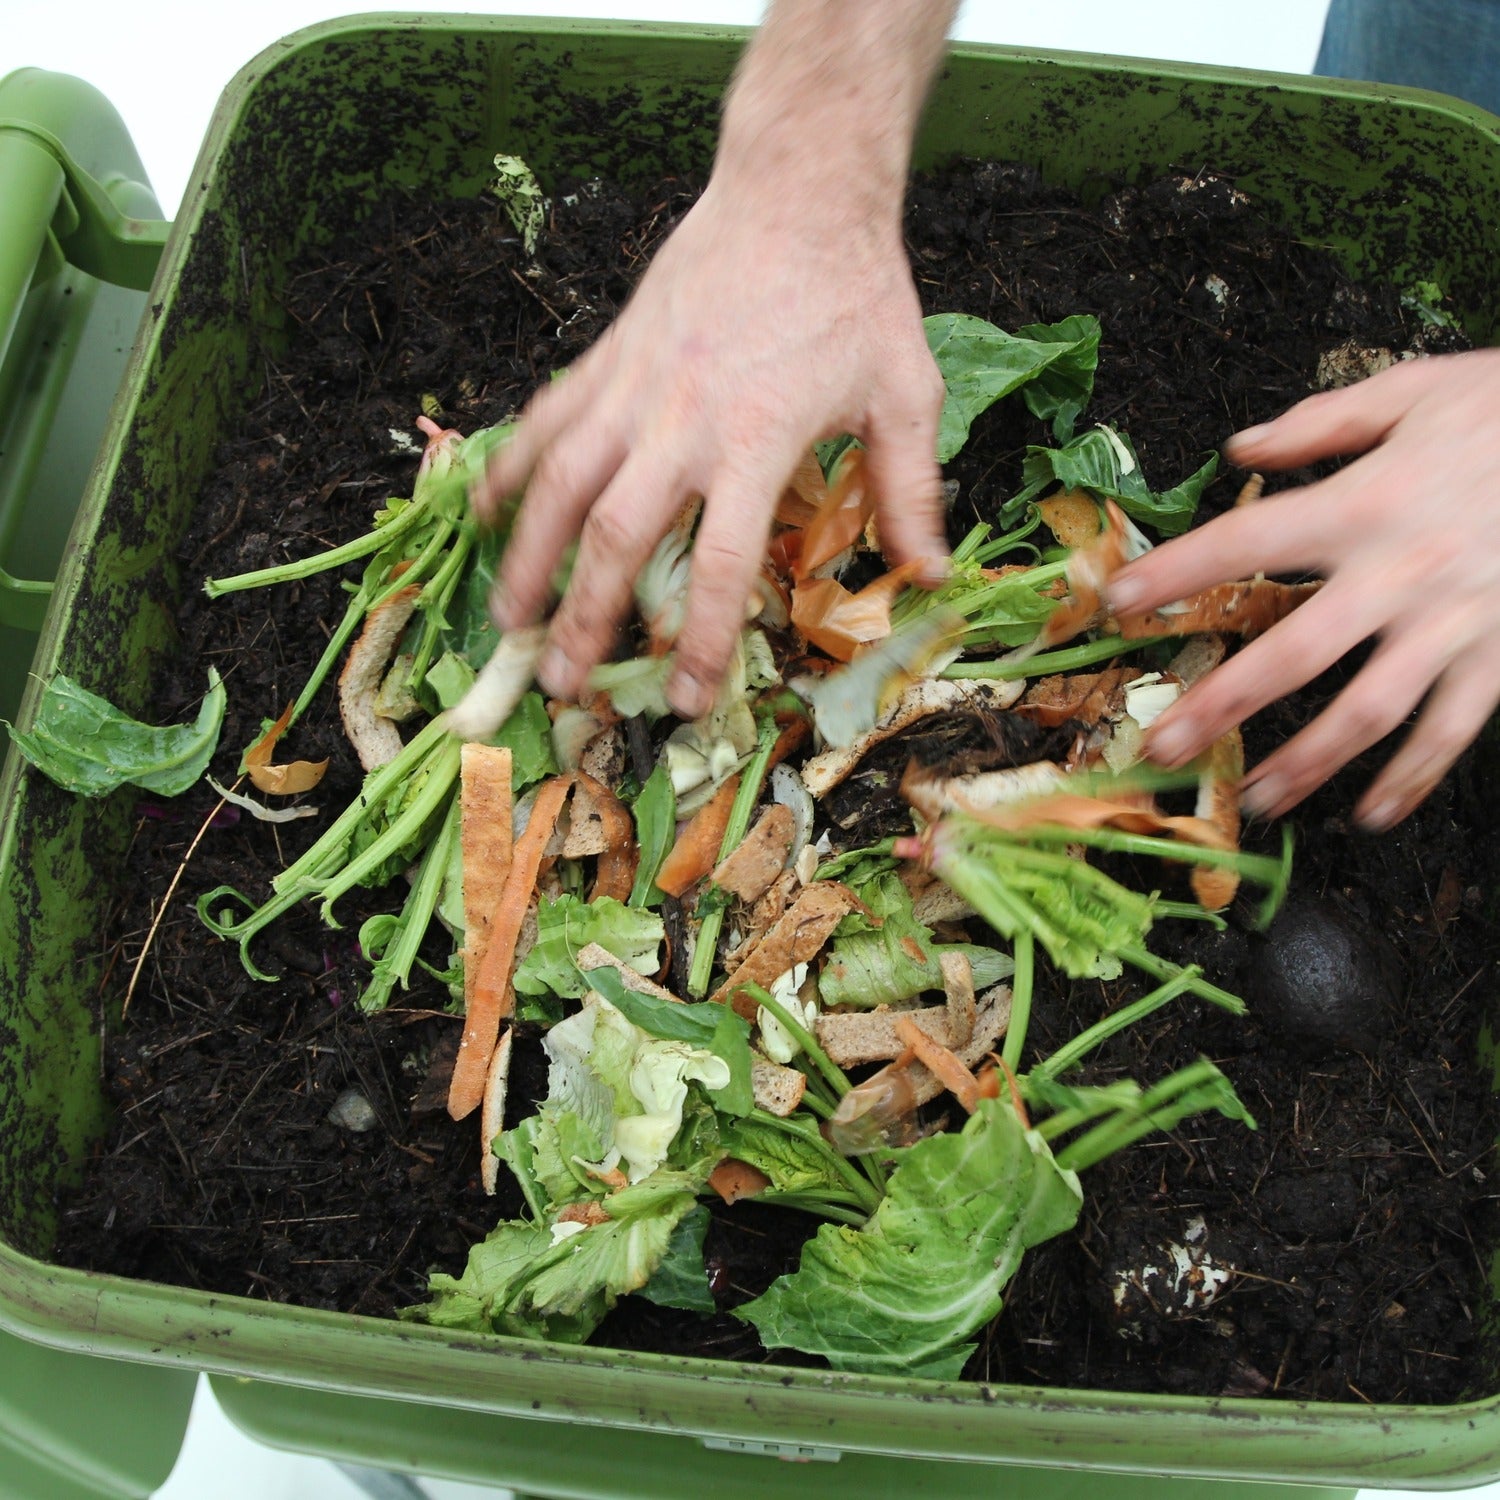
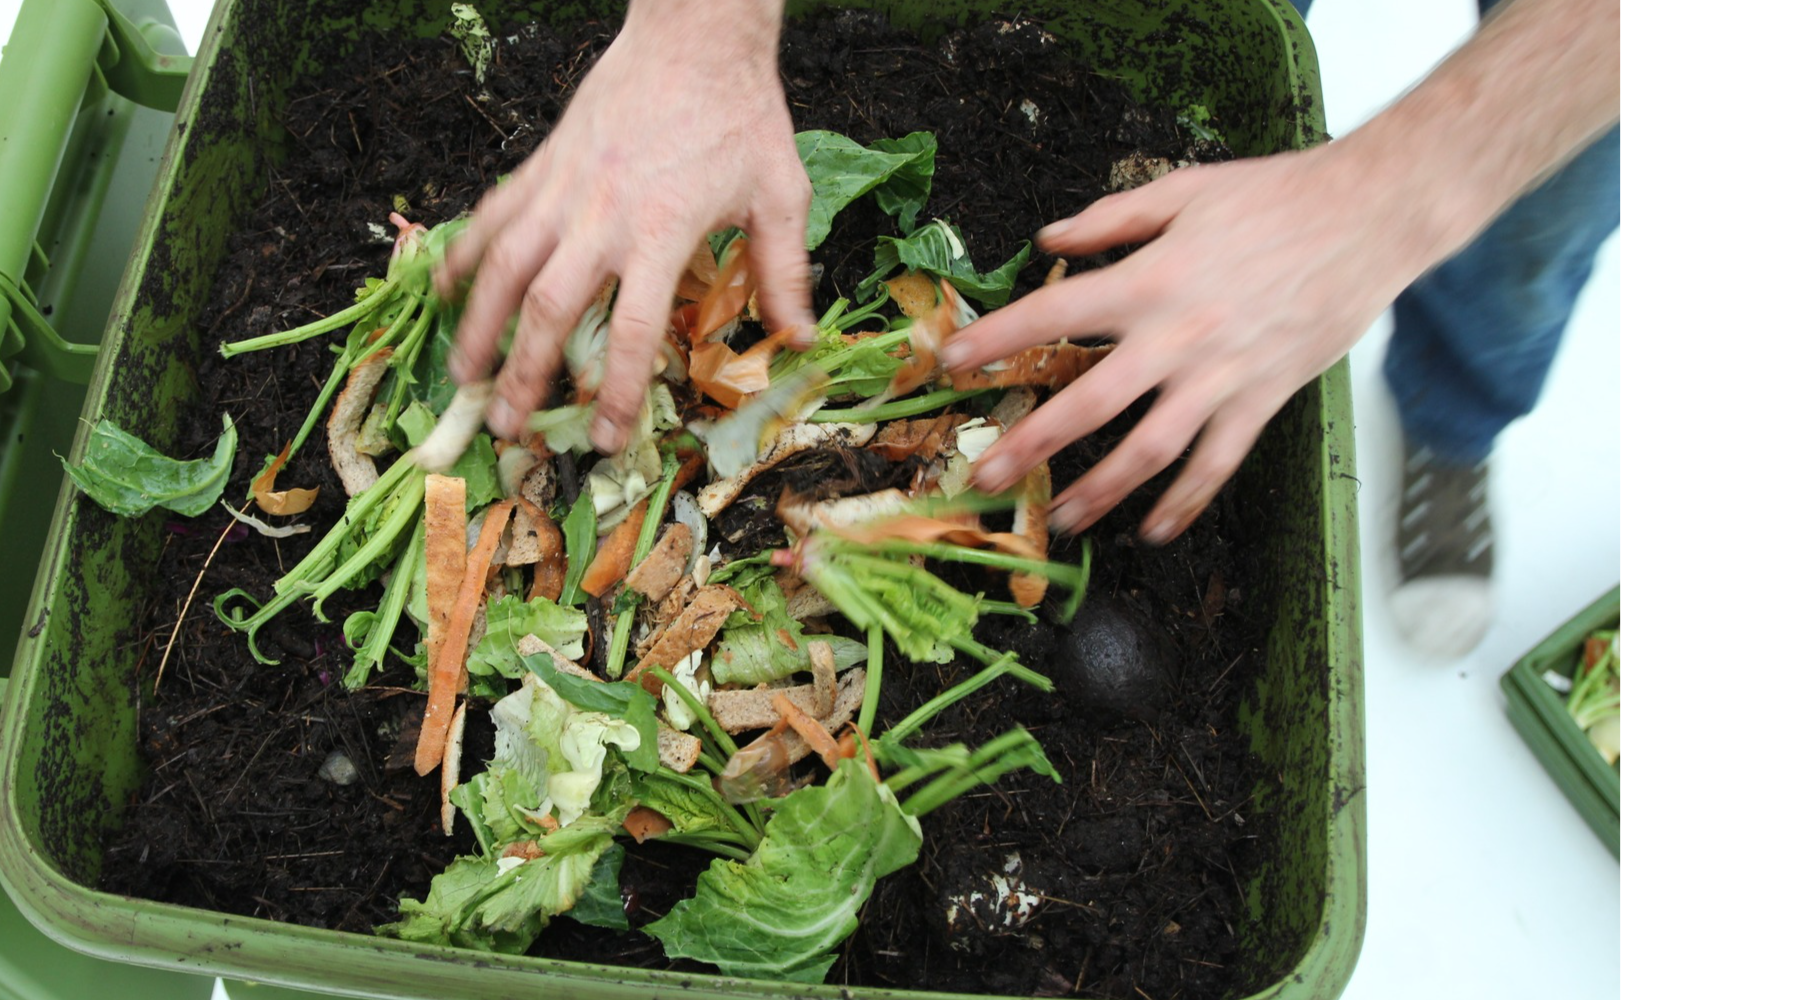
- Add worms to the surface of the bedding and cover with approximately 3/4 inch (20mm) of food scraps (preferably finely chopped).
- A full population is approximately 16,000 worms, or 6.5 lbs. of adult worms.
A Four-Month Journey With Your Hungry Bin
80L moist bedding. Add worms. No more than 20mm of fresh food to start.
Starting Out
Fill your hungry bin ¾ full with
bedding material (80L of compost, free draining soil). Moisten with water and add at least 2000 worms. Add 20mm of fresh food and cover with a sheet of newspaper or cardboard. Place your Hungry Bin in a sheltered shady spot — out of the sun if possible.
Worms multiplying. Add food as required. Keep moist.
Week 2 - 4
Feed the bin slowly at first, only add
food as fast as it is being eaten. There may only be minimal worm activity. Add more food only
when half the food has been eaten. You may notice the food becoming mouldy, or other insects present in the top of the bin
Worms multiplying. Add food as required. Keep moist.
Week 4 - 8
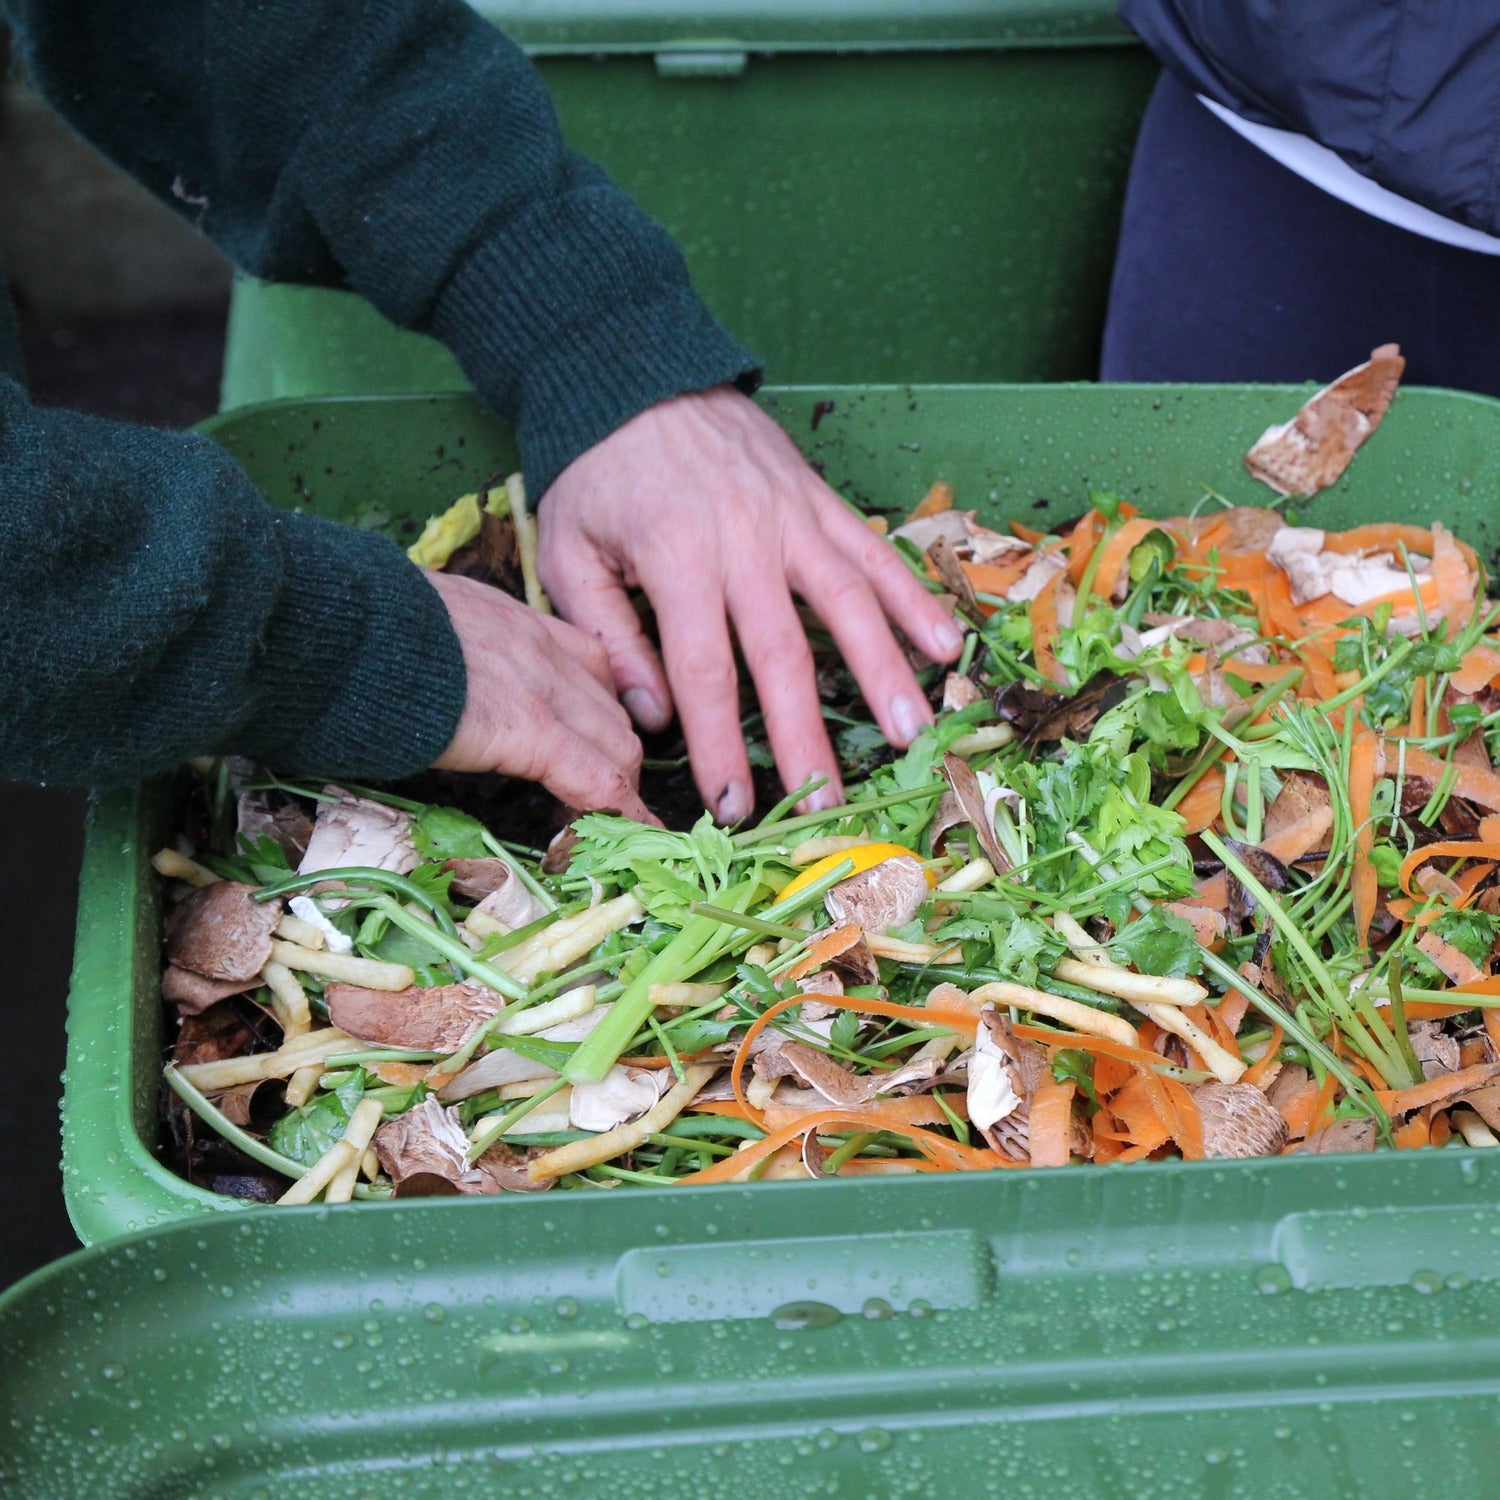
Feed every few days, but don’t add
food until half of the previous layer of food has been eaten. It is important that the worms eat the food before it becomes rotten and smelly. Sprinkle with water if the bin is becoming dry, or the liquid is not
draining from the bin.
Large population of worms.Feed every few days.
Week 8 - 16
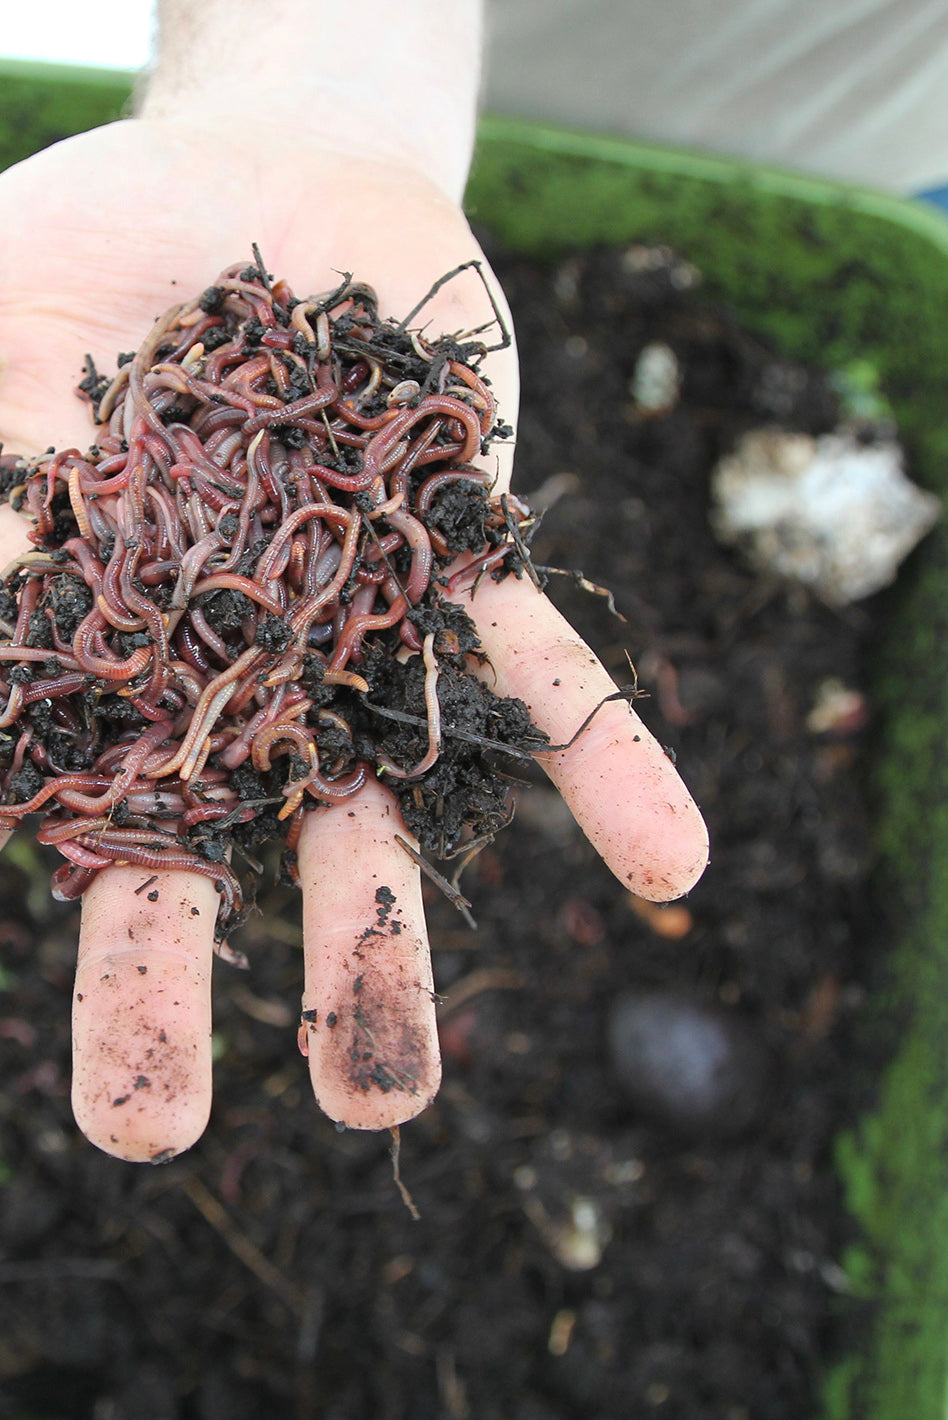
Feed every 2-3 days, ensuring that the uneaten food is no more than 50mm deep. Worms should have doubled in population by now, there will be a noticeable increase in activity.
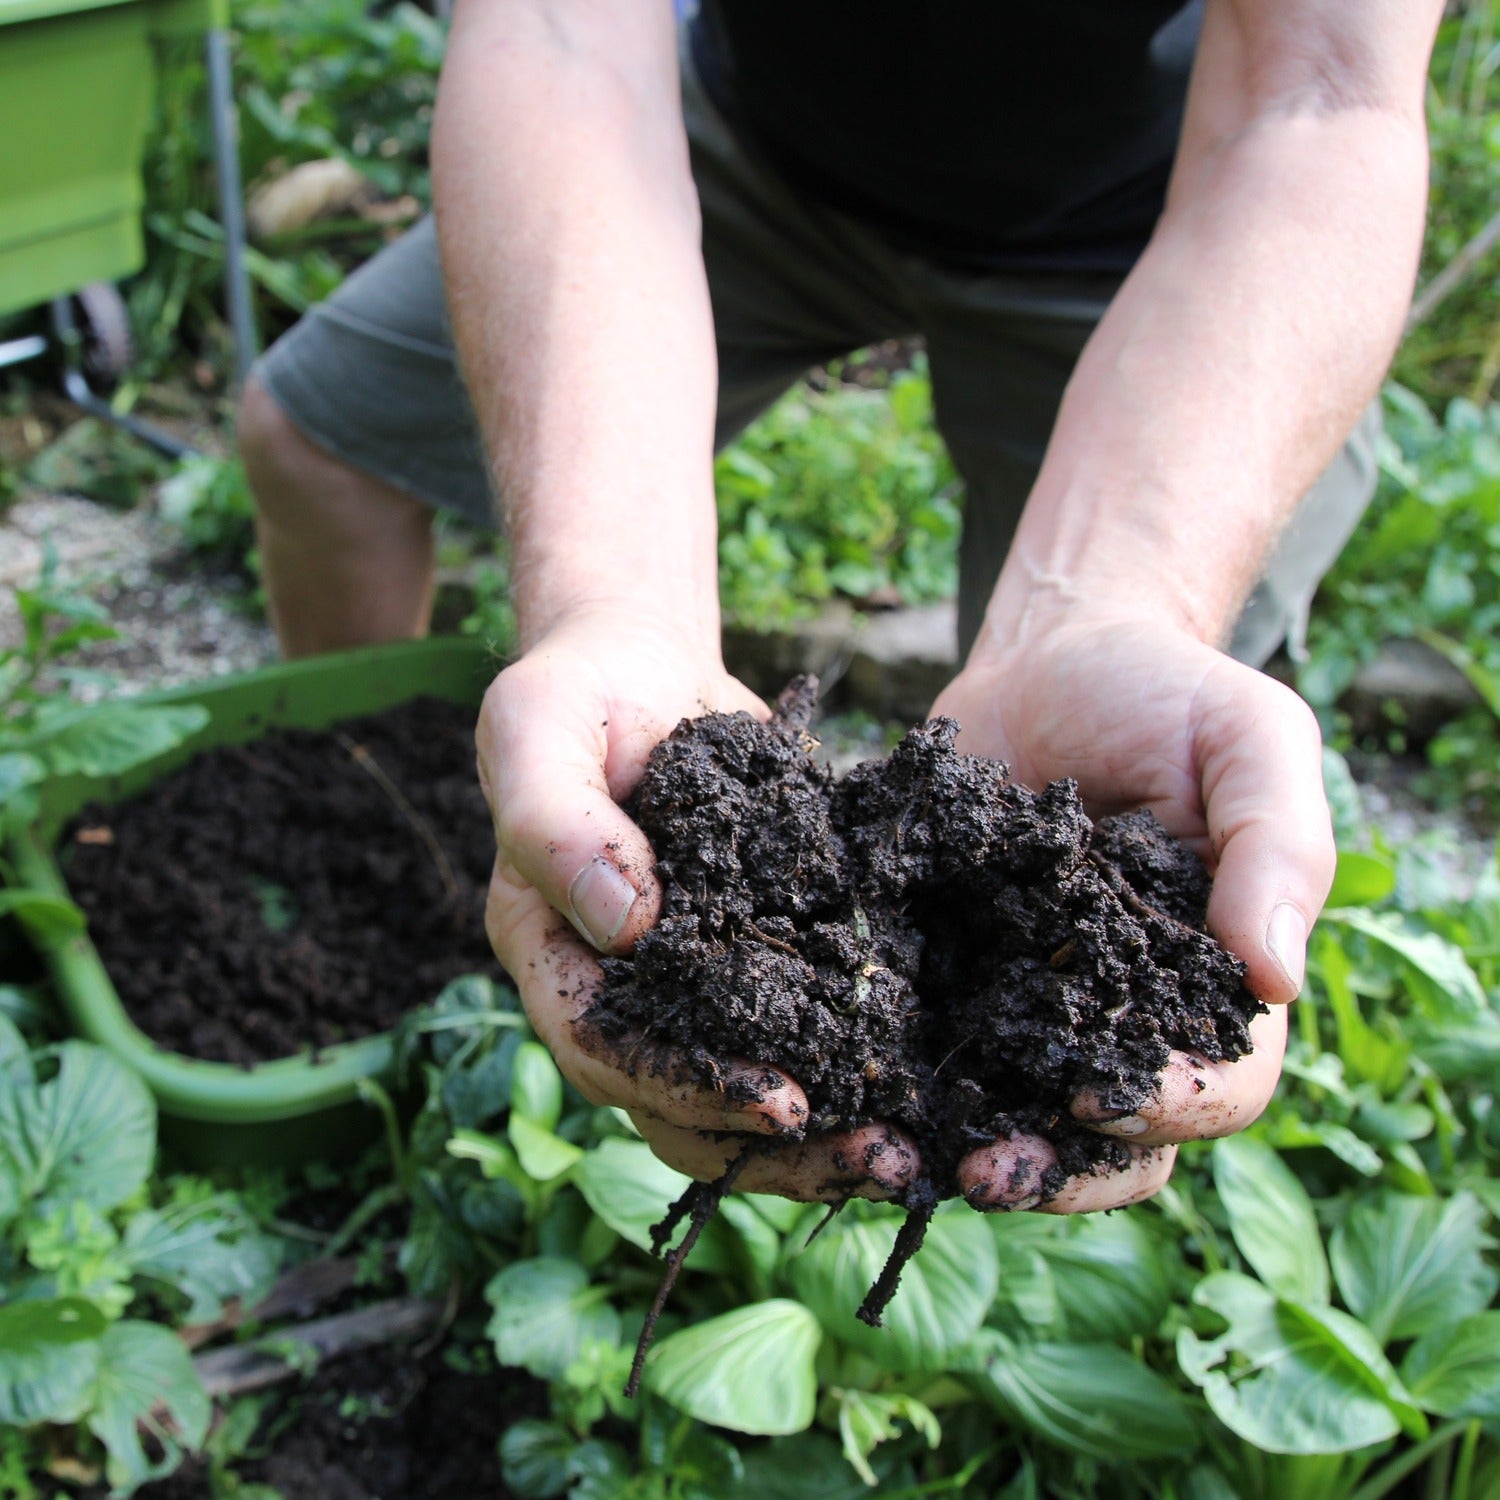
You will see worm castings (fine dark looking soil) accumulating around the food
Worms at peak population; Feed up to 2kg per day.
WEEK 16+
Feed every day or 2 as required;
worms should have formed a large active layer immediately below the food. The Hungry Bin should reach optimum performance and maximum population – over 10,000 worms! Take care to ensure the food is not rotting before the worms have a chance to eat it. If needed add fibre to help balance the farm, (shredded paper, cardboard, dry leaves or dried lawn clippings) to help keep your hungry bin smelling sweet.
How To Assemble Your Bin
Check out our 5 minutes assembly guide to get worm composting today.
Get more in depth
Garden Knowledge
From Scraps to Splash: A Guide to the Liquid Harvest from your Hungry Bin
Composting is not just about turning kitchen scraps into nutrient-rich soil; it's also about tapping into the liquid gold that your Hungry Bin produces. A well-fed and thriving bin can yield appro...
Optimizing Efficiency: The Potential of Your Hungry Bin
Your Hungry Bin is not just a composting system; it's a living ecosystem that, when treated right, can operate at peak efficiency, transforming your kitchen scraps into nutrient-rich worm castings...
Nourishing Your Hungry Bin: A Guide to Feeding Compost Worms
Compost worms, nature's recyclers, thrive on a balanced diet. To ensure optimal performance from your Hungry Bin and the well-being of its resident compost worms, it's crucial to understand what t...